Heavy JPEG compression
Every re-save at a lower quality throws away detail and leaves 8×8-pixel blocks behind. Images forwarded through chat apps collect a new layer each hop.
Repair guide
Pixelation comes from lost pixels, and no tool can restore what was never captured. What an AI upscaler can do is rebuild plausible edges and texture around what remains — the fix runs right here, and this page shows what it can and cannot do.
Run it here · Your image stays in browser memory until you press Run
Drop an image, press Ctrl+V, or
JPG · PNG · WebP · max 10 MB
10 credits per run · 1 free a day without an account
Output
Add your input, choose the options you need, then run the tool.
One free run per day without an account. The scale choice matters: 2x for most web uses, 4x toward print.
Every re-save at a lower quality throws away detail and leaves 8×8-pixel blocks behind. Images forwarded through chat apps collect a new layer each hop.
Stretching a 300px image to 3000px with a plain resize interpolates between existing pixels. Nothing new is added, so edges blur and flat areas go mushy.
Screenshots, old scans and heavily cropped photos start with too few pixels for the intended size. The information was never there to begin with.
All three look similar in the final image — blocky edges, mushy texture, hard stair-stepping on diagonals — but they set different expectations for what a repair can achieve.
These are the controls in the runner above — the same flow the image enlargement guide walks through with quality checks for each scale.
Open the upscale tool and upload the pixelated file. A less-compressed copy of the image, if one exists, always beats a repeatedly forwarded one.
Pick the scale that reaches your target size — 2x for most web uses, 4x toward print. 4x is the largest scale this tool offers, and it asks the model to invent sixteen times the pixels.
Photos and product shots use the photo model; logos, illustrations and screenshots with hard edges do better on the line-art model.
After the run, check the result at full size: edges, lettering, repeated patterns. A result that looks clean small can hide invented texture close up.
Save as PNG to avoid a new JPEG generation. Converting an already damaged JPEG to PNG will not restore what was lost — it only stops further loss.
The added detail is invented, not recovered. Treat the largest scale on fine text and distant faces as reconstruction, inspect every result at 100%, and keep the untouched source file.
Each pair below was produced by a live run of the upscale tool on 2026-10-13. The damaged sources are teaching assets we hold, degraded with real file operations (a hard downscale and a low-quality JPEG re-save) — the damage is genuine file damage, not painted on. Results are shown unretouched; the run log with request ids and cost lives in the repository.
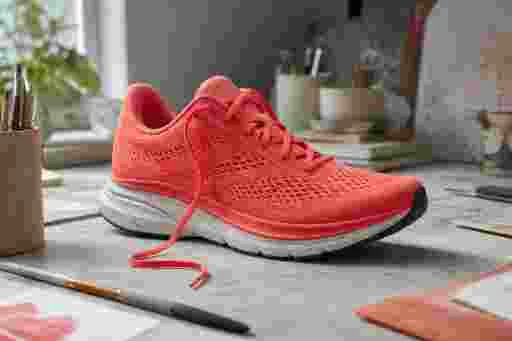
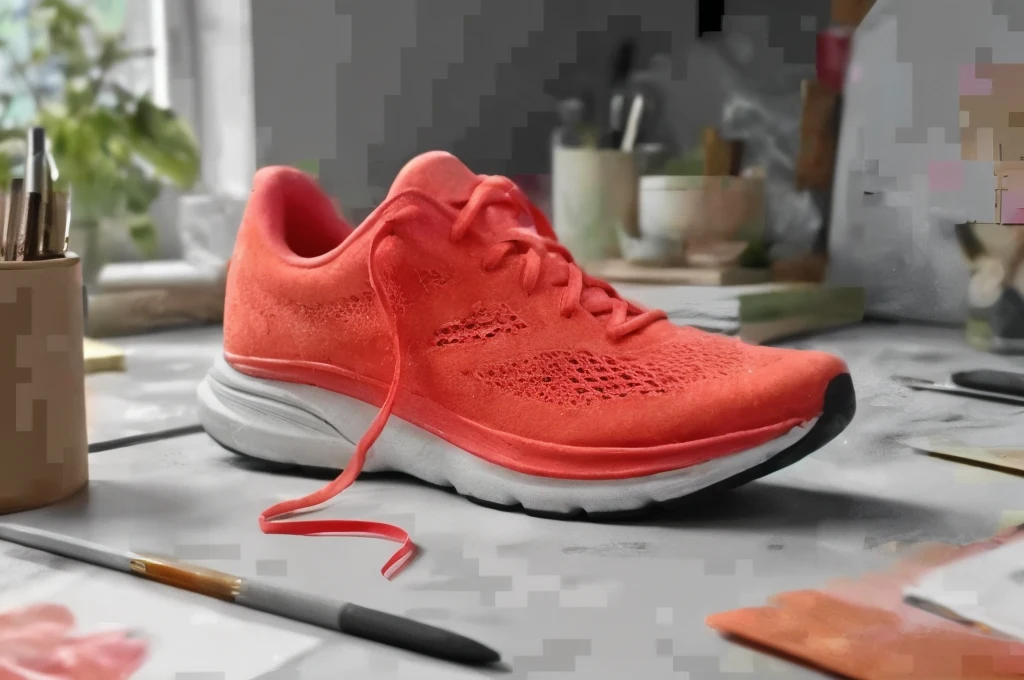
The honest win case: compression blocking reduced and shoe edges rebuilt while flat colour fields stay clean. Inspect stitching and small markings at 100% before using it at large sizes.

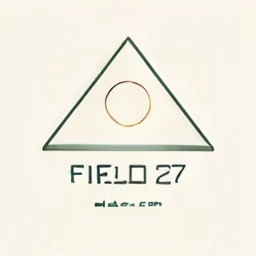
The deliberate failure case: at this source size the letters are too far gone. Compare the text against the original and expect invented strokes — for logos, the design file or vector source is always the better fix.
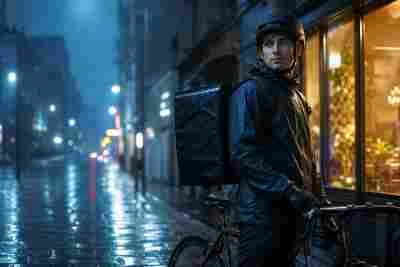
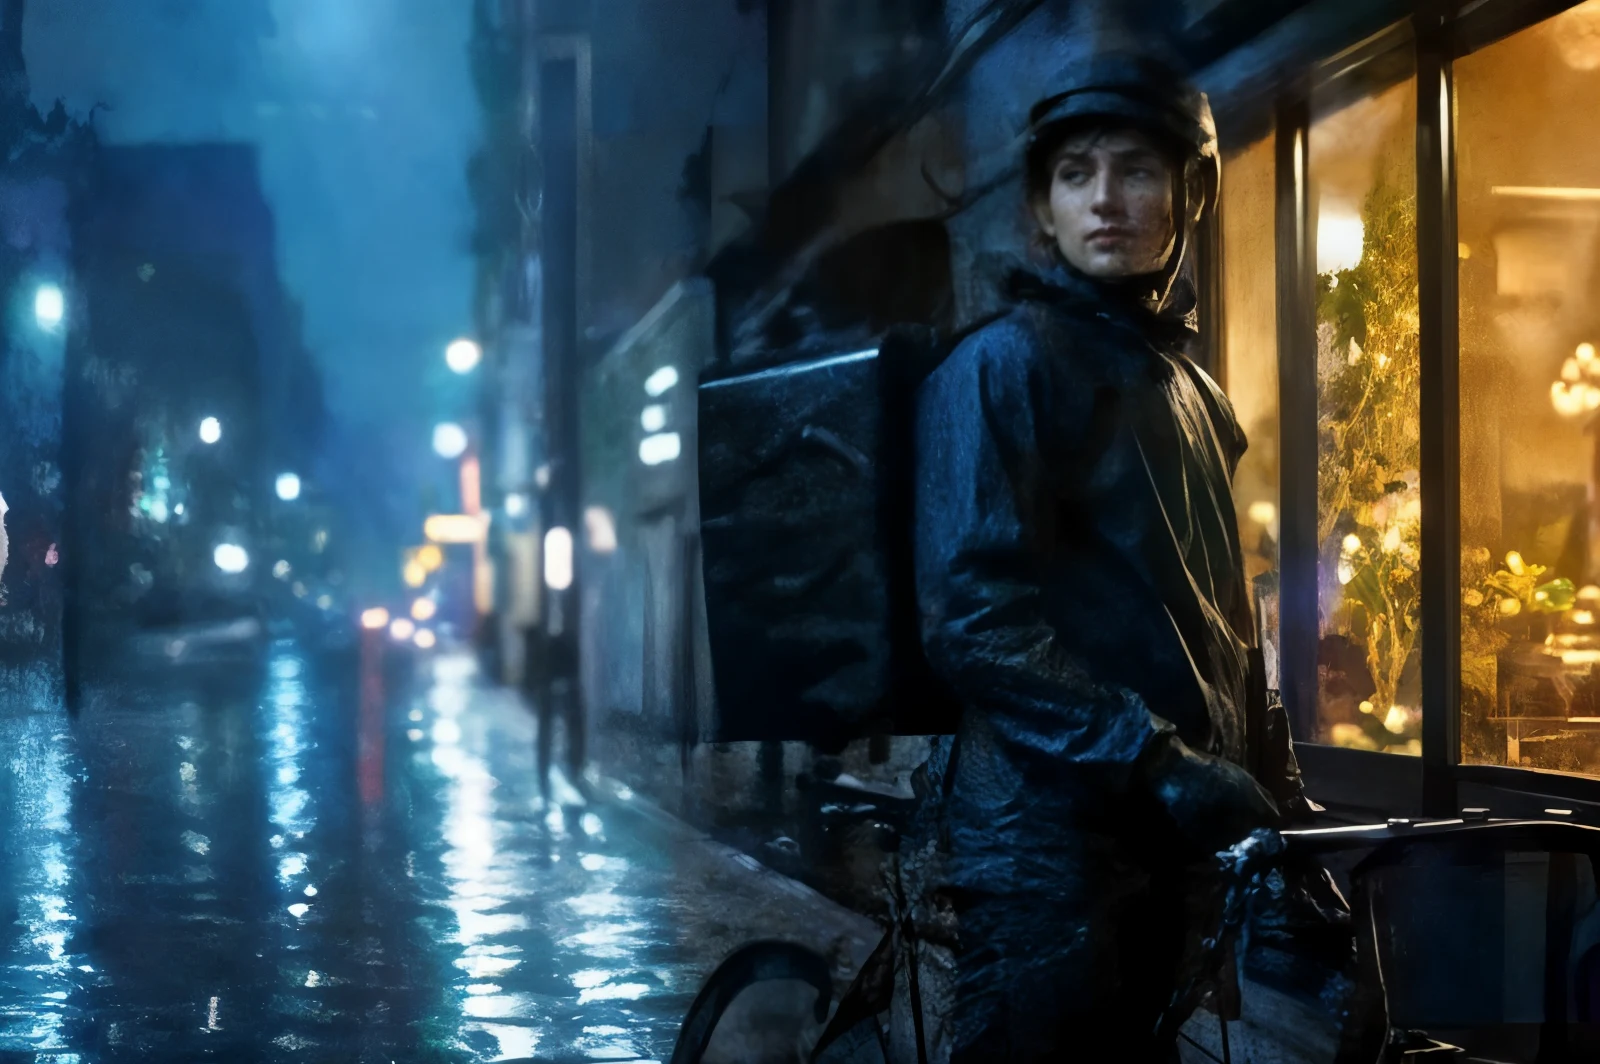
The typical rescue case: a forwarded, recompressed image made usable for web display again. Faces and small text still deserve a close check — apparent sharpness is not the same as faithful detail.
No, and any tool promising that is overselling. The result holds up at the scale you ran — 2x is the reliable end, and each doubling asks the model to invent more. Inspect the actual file before relying on it.
The upscale tool takes one free run per day without an account; a free account raises that to three runs a day. Failed runs caused by technical errors are refunded automatically.
Motion blur or out-of-focus blur is different from pixelation: the information was never captured. Light softness responds better to the enhance model in the agent workspace than to upscaling.