10 credits per run
Upscale Image
Enlarge photos or line art up to 8x. Choose the smallest scale that reaches your target, then inspect the result at full size.
- Free to try
- Up to 8x
- Photo & anime models
Run it here · Your image stays in browser memory until you press Run
Drop an image, press Ctrl+V, or
JPG · PNG · WebP · max 10 MB
10 credits per run · 1 free a day without an account
Output
Result
Your result will appear here
Add your input, choose the options you need, then run the tool.
Visual proof
See what upscale image changes
A visual example makes the result easier to judge before you upload anything. The sample below is illustrative; your file is processed only after you approve the run.
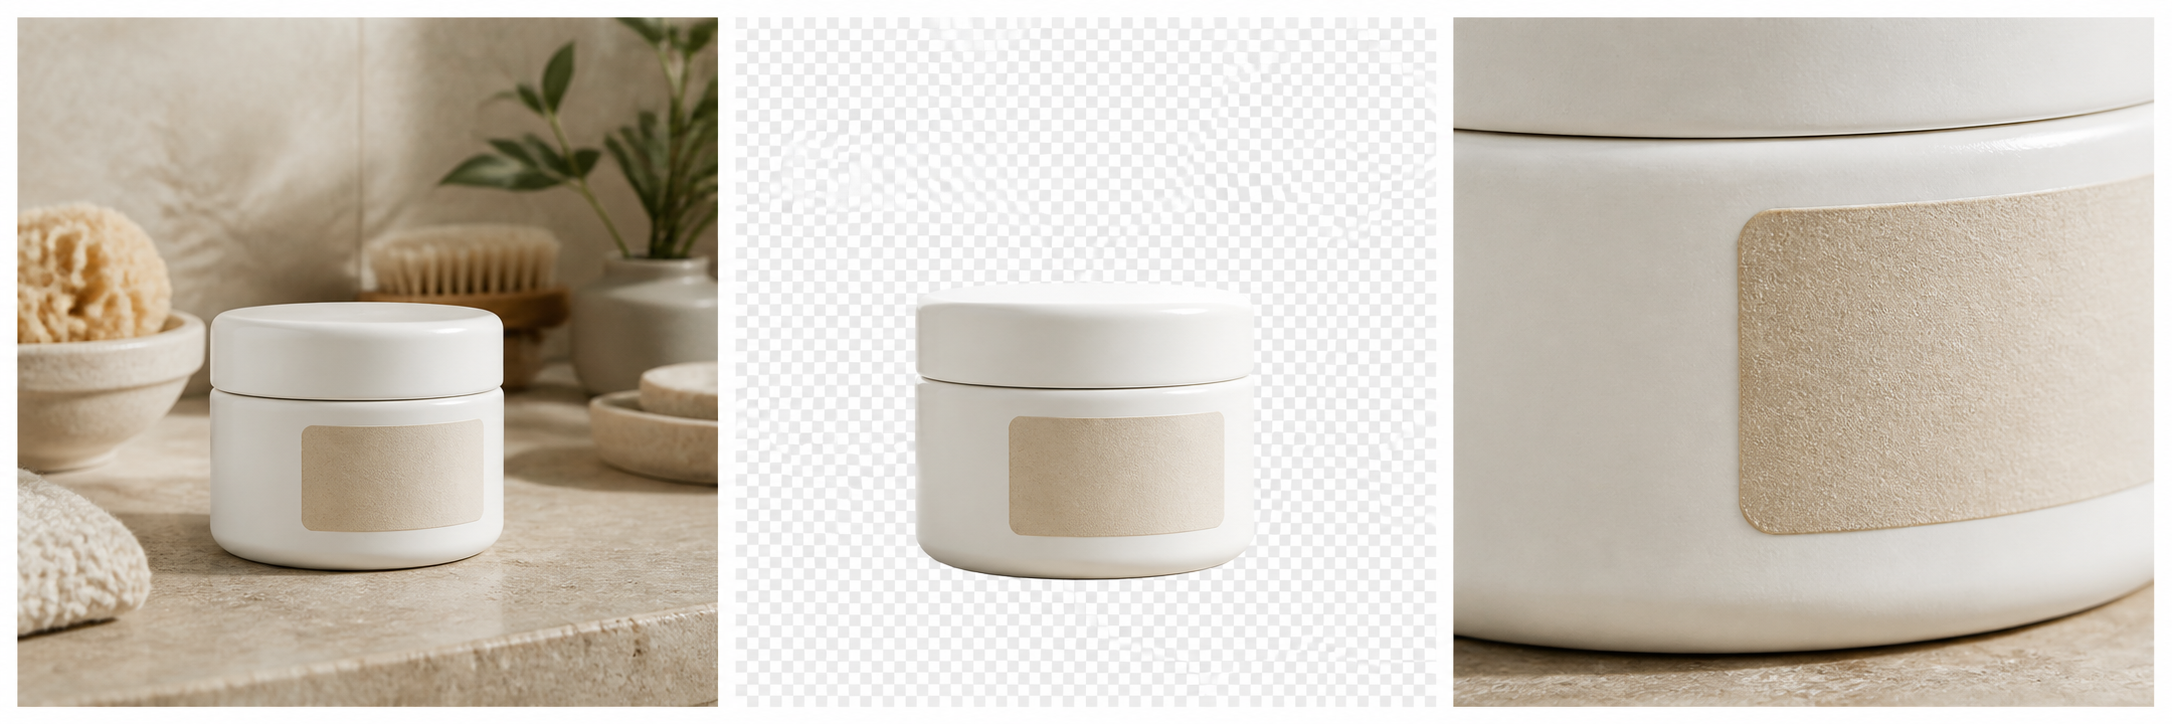
Judge the edges, not the effect
Look at the cap seam, label edge and ceramic texture. Those small boundaries reveal whether an image edit is genuinely clean.
- Subject
- Preserved
- Edges
- Checked
- Preview
- Before approval
Works well with
Visual guide
Inspect the crop where upscale mistakes become visible
Whole-image previews hide the difference. Look at a 100% crop and check the structures that matter for the source: skin texture in a photo, or hard contours and flat fills in line art.
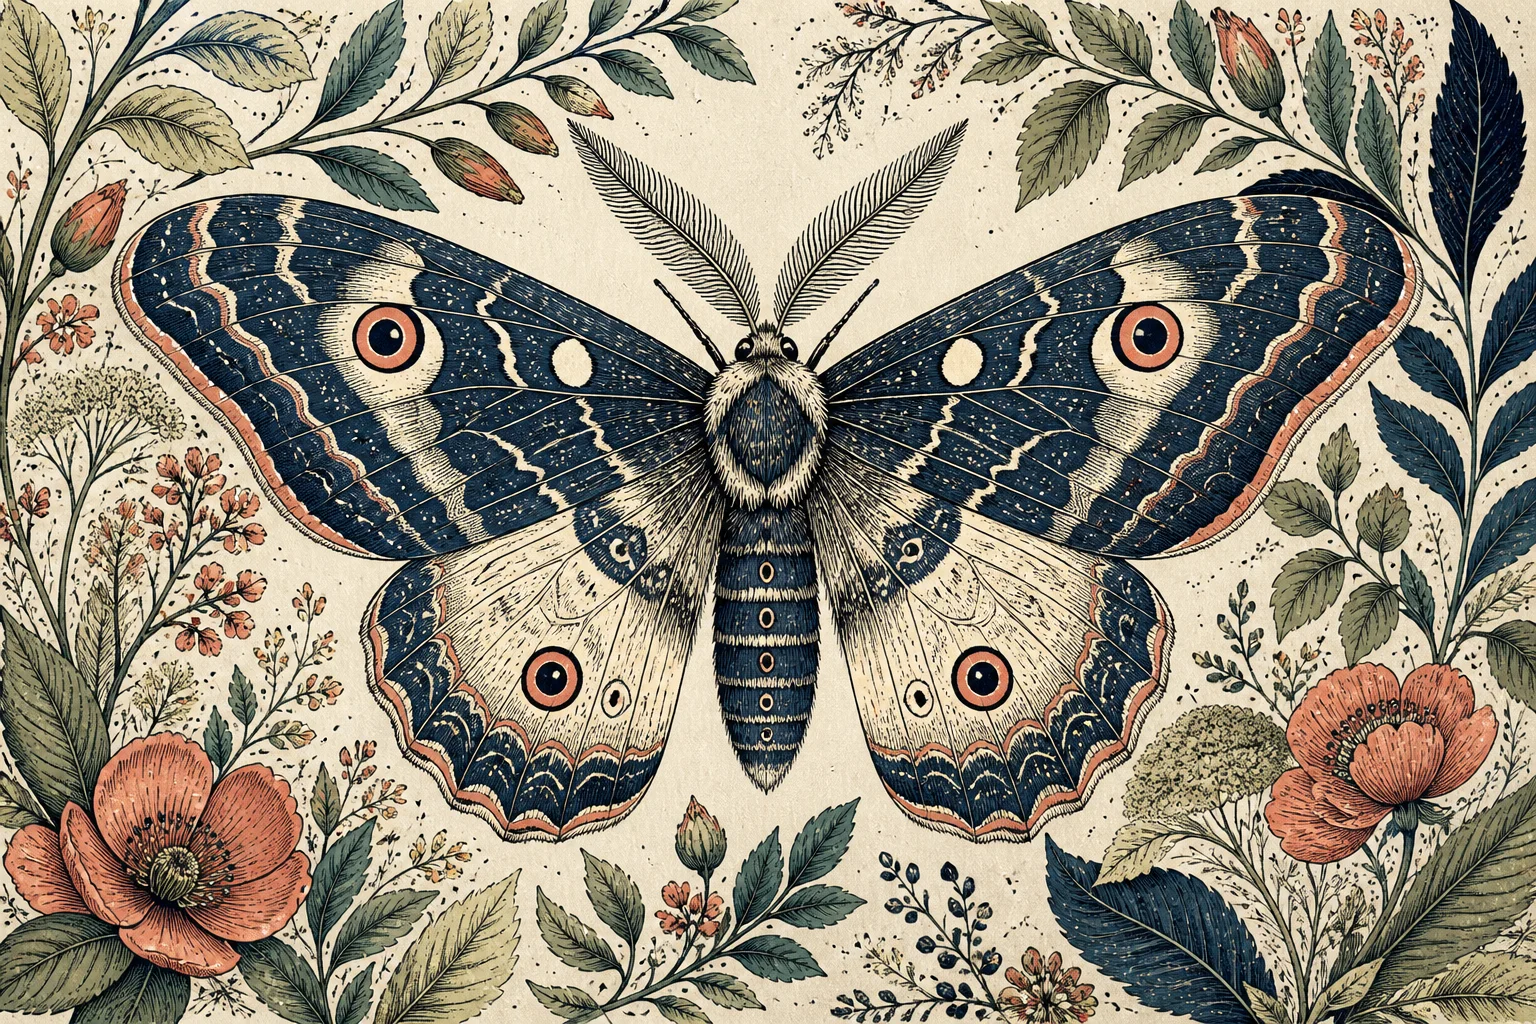 Example
- 01
Line-art model
Fine wing veins should stay continuous and dark while cream colour fields remain flat. A photo model often turns those edges into soft texture.
- 02
Photo model
For portraits and products, inspect hair, fabric, pores and grain instead. Natural variation matters more than perfectly hard outlines.
- 03
Pick scale from final size
A 1200px source becomes 2400px at 2x, 4800px at 4x and 9600px at 8x. Use the smallest scale that clears the output requirement.
- 04
Treat 8x as reconstruction
At 8x most visible pixels are newly inferred. Decorative detail may look convincing, but tiny text and distant faces are not restored evidence.
Detail
Upscale image quality without losing detail
Enlarging the old way interpolates between the pixels you already have. There is no new information, so the result is the same picture with softer edges — which is why a plain 2x resize looks blurry in every image editor regardless of the algorithm.
An AI image upscaler reconstructs plausible texture and edges instead. It does not just enlarge image dimensions — it can genuinely increase image resolution in a way that holds up, which is what makes a 1000px file usable at poster size.
The detail is invented, not recovered
This matters and most tools do not say it. An upscaler adds detail that is consistent with what images normally look like — it does not recover what the camera failed to capture. An upscaled licence plate or a sharpened face at a distance is a plausible guess, not evidence. Treat the output accordingly.
Reference
Which scale should I use?
The right scale depends on how much the model has to invent.
| Scale | Good for | Watch out for |
|---|---|---|
| 2x | Almost anything. Safe default. | Nothing much — this is the reliable end. |
| 4x | Web images heading for print; small product shots. | Fine text starts to soften. |
| 8x | Very small sources, smooth subjects, flat graphics. | Text, faces at a distance, and repeating patterns show clearly. |
Detail
Fix pixelated and low-resolution photos
Blocky compression artefacts from a re-saved or re-forwarded image are a different problem from simple smallness, and the model handles both in one pass — it reduces the blocking while it reconstructs edges.
If the photo is mainly noisy or soft rather than small, ask the image agent workspace to enhance it first; that denoises and sharpens without changing the dimensions.
For the full walkthrough — what causes pixelation, what a model can repair and what it cannot — see [fix a pixelated image](/blog/fix-pixelated-image), which uses this same tool.
Detail
Enlarge image files: logos, icons and product photos
Flat graphics with hard edges upscale extremely well, because there is little texture to invent. This is the case where 8x is genuinely usable.
For ecommerce specifically: Amazon activates zoom at 1600px on the longest side, which is the threshold most phone-shot listing photos miss. Upscaling gets an otherwise good photo over that line without a reshoot.
Detail
Upscale AI art and anime
Most image models top out around 1024px, so upscaling is the standard last step before an AI image is used anywhere real.
Use the anime model for anything with linework. A photo upscaler applied to line art smears exactly the edges that make it line art; the anime model keeps lines hard and flat colour areas flat. Using one model for both is the single most common reason an upscale looks wrong.
FAQ
Frequently asked questions
4x is reliable for most sources. At 8x the model is inventing the majority of what you see, which works well for smooth subjects and shows on fine text and complex patterns.
Built in public
Feedback on this tool
Published messages are from signed-in users, reviewed for privacy and spam, and shown with the team response when one exists.
No public feedback has been published yet. New submissions are reviewed before they appear here.
Share product feedback
Sign in before submitting. This keeps the public board useful and gives us a way to follow up privately.
Sign in to share feedbackKeep creating
Ready when you need more
Runs cost 10 credits. New accounts start with enough to try every tool.