Guides
How to Upscale Images Without Losing Quality: Steps and Limits
Learn how to upscale images for web or print, choose 2x or 4x, compare real detail, and avoid blurry text, halos, and invented textures.
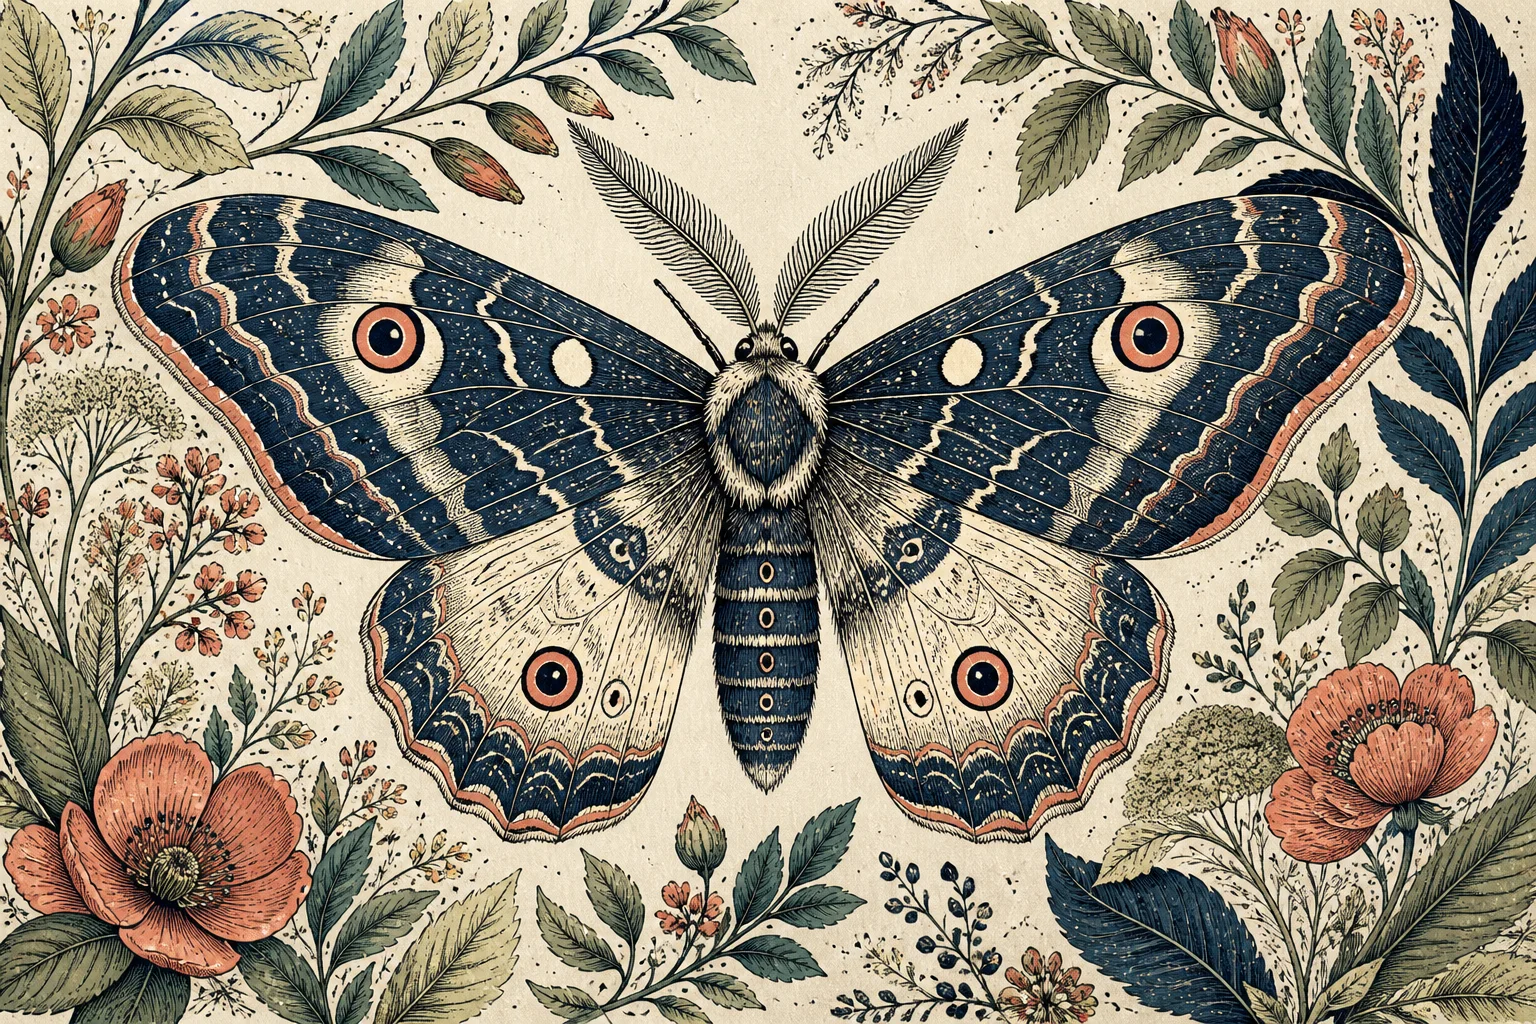
To upscale images without losing quality, start with the best source you have, calculate the pixel dimensions you need, and choose the smallest enlargement that reaches them. Compare the result at the intended display size and at 100% before exporting. AI can make an enlargement look sharper, but it may infer textures or change fine details. “Without losing quality” is a goal to check, not a promise that missing information can be recovered.
Upscaling vs resizing vs sharpening
| Operation | What changes | What it cannot establish |
|---|---|---|
| Ordinary resampling | Pixel dimensions, using an interpolation method | Details that the source did not capture |
| AI upscaling | Pixel dimensions plus model-inferred edges or texture | That every added detail matches the original scene |
| Sharpening | Local contrast around existing edges | A genuinely refocused photograph |
| Changing PPI metadata | How existing pixels map to a physical print size | Additional image pixels when resampling is disabled |
A conventional resize is a useful baseline, not automatically a bad result. Its appearance depends on the source, interpolation and final viewing size. An AI result should improve the parts that matter without introducing unacceptable changes. If a normal resize already looks right in a small website card, a more expensive reconstruction may solve no practical problem.
Choose your target dimensions before you upscale
For a web delivery, get the required width and height in pixels. For a print, multiply the physical dimensions in inches by the required pixels per inch, or PPI. Check the aspect ratio first: a square picture cannot fill an 8 × 10 print without cropping, borders or changing the composition. Cropping removes usable pixels, so calculate from the cropped source rather than the original file.
| Source after cropping | Desired output | Minimum scale for these dimensions |
|---|---|---|
| 800 × 800 px | 1600 × 1600 px web asset | 2x |
| 600 × 750 px | 2400 × 3000 px for an 8 × 10 inch print at 300 PPI | 4x |
| 1200 × 1500 px | The same 2400 × 3000 px print file | 2x |
| 2400 × 3000 px | The same print file | No enlargement needed |
These are dimension calculations, not quality guarantees. An 8 × 10 inch print at 300 PPI requires 2400 × 3000 pixels, but an upscaled file of that size may still contain visible artefacts. Ask the print provider for the appropriate density and file format. A poster viewed from across a room can have different requirements from a small print inspected closely.
How to upscale an image in the current tool
Open the AI image upscaler and upload the original image. The options appear after a file is added. Keep the source so that you can compare the output fairly and return to it if a chosen setting changes something important.
1. Add the source
Use the upload area. A clear original file is preferable to a screenshot or repeatedly compressed copy.
2. Choose the scale
Select the smallest available scale that reaches your target dimensions. Do not select 8x just because it is the largest option.
3. Check the run conditions
Review the current allowance or credit information beside the run control. A free trial is not an unlimited processing allowance.
4. Run the enlargement
Select “Run”. The result is produced by an image model; avoid judging it while only a small preview is visible.
5. Inspect the file
Open or download the result. Check its actual width and height, then inspect the important edges, lettering and texture at 100%.
6. Export for the destination
Make the final crop and format choice only after the result passes your checks. Preserve an untouched source and a high-quality output copy.
The interface includes Photo and Anime / line art choices, but a label is not evidence that two distinct models were used. The controlled comparisons below identify the actual upscaler used. Judge the output of your own run, and use its measured dimensions rather than assuming that a selected option guarantees a particular file size or visual treatment.
Should you use 2x, 4x, or 8x?
A scale factor multiplies both width and height. At 2x the result contains four times as many pixels; at 4x, sixteen times; at 8x, sixty-four times. This explains why a larger setting can increase file size and processing work so quickly. It also gives the model much more image area to fill with inferred information.
| Scale | A 256 × 256 px source becomes | Decision |
|---|---|---|
| 2x | 512 × 512 px | Try when it reaches the required size; still check lettering and edges |
| 4x | 1024 × 1024 px | Inspect texture and shape changes more closely |
| 8x | 2048 × 2048 px | Use only when needed and supported; this guide does not establish an 8x quality guarantee |
The table is arithmetic. A service may round dimensions, cap output size or fall back to another provider, so verify the file you actually receive. If a 4x result changes a product label, trying another representation of the same invented letters is less useful than obtaining a better source. Returning to the original or choosing a lower scale is often the appropriate next step.
Compare a photo, a logo, and line art
A fair comparison displays the ordinary resize and the AI output at the same target dimensions. Otherwise, a larger thumbnail or a sharper display setting can masquerade as a better model. Inspect a natural texture in the photo, a known sequence of letters in the logo, and continuous thin contours in the illustration. Keep output encoding consistent when comparing local crops.
Worked example
Portrait: appearance versus identity
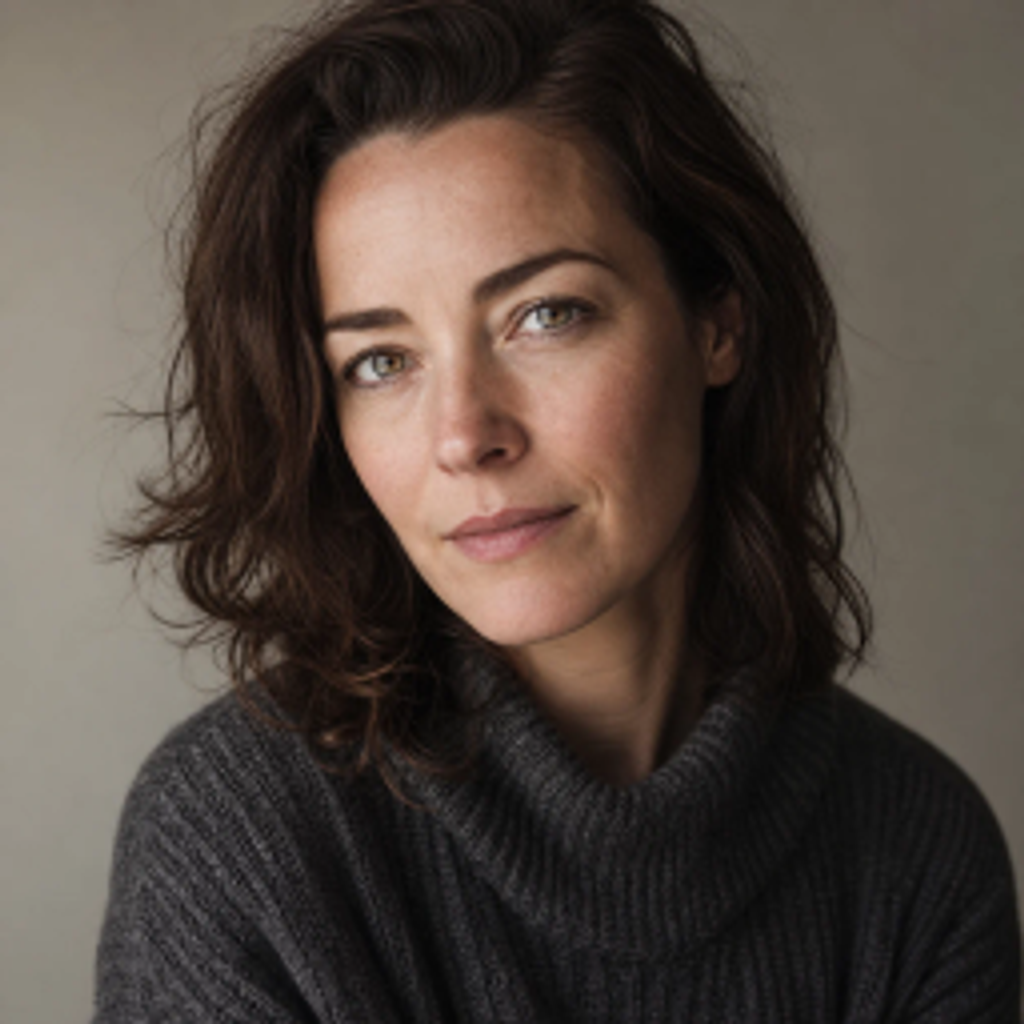
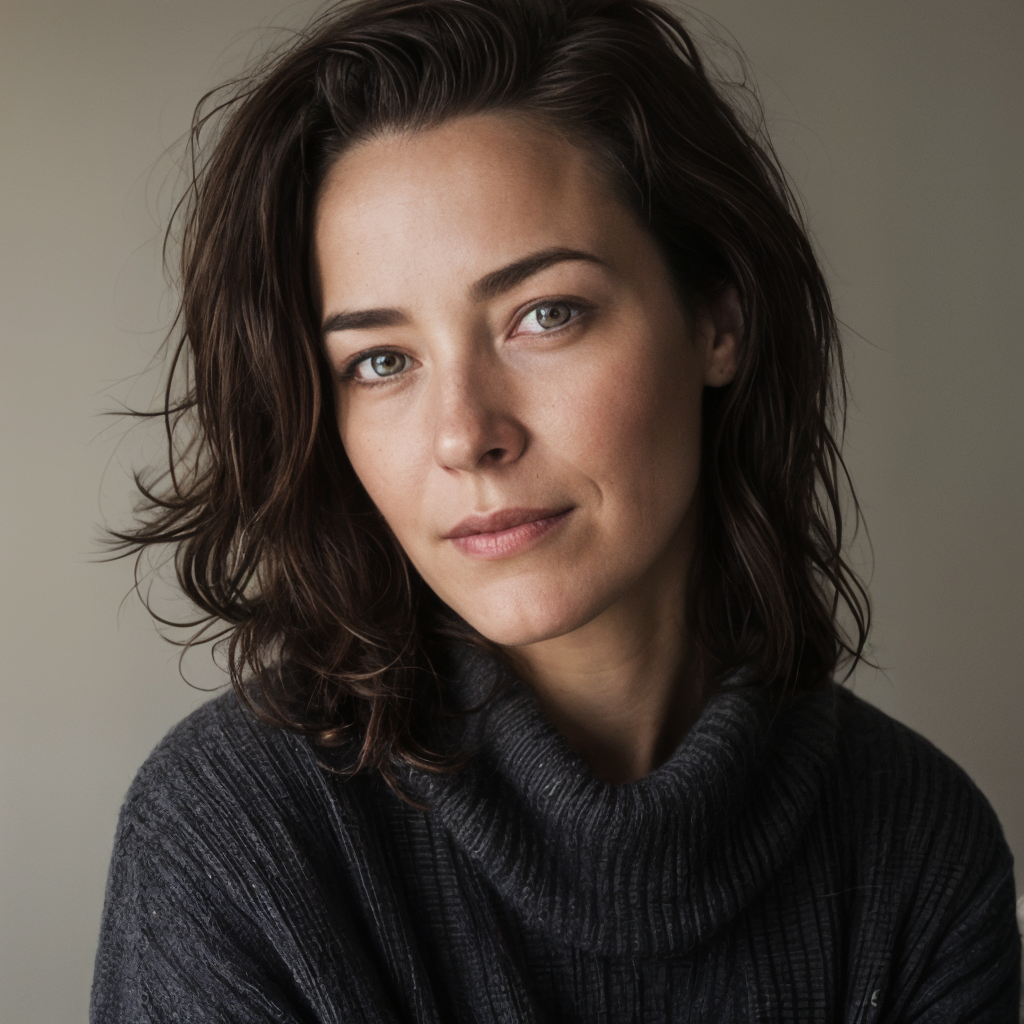
Captured 9 September 2026 with Clarity Upscaler, upscale_factor 4 and other endpoint defaults. Left: actual small input. Middle: ordinary cubic resampling to the returned dimensions. Right: actual AI output. Display WebP files have original-file links; this single example is not a success-rate benchmark.
- The AI output has more defined hair and knit texture than the ordinary resize, but it also smooths the face and changes fine facial detail.
- This is a controlled test from a generated portrait reduced to 256 pixels, not an identity-restoration test on a customer photograph.
- The requested 4x factor produced 1024 × 1024 pixels. Apparent sharpness still needs a fidelity check.
Worked example
Logo: readable text still needs inspection
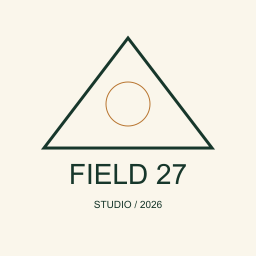
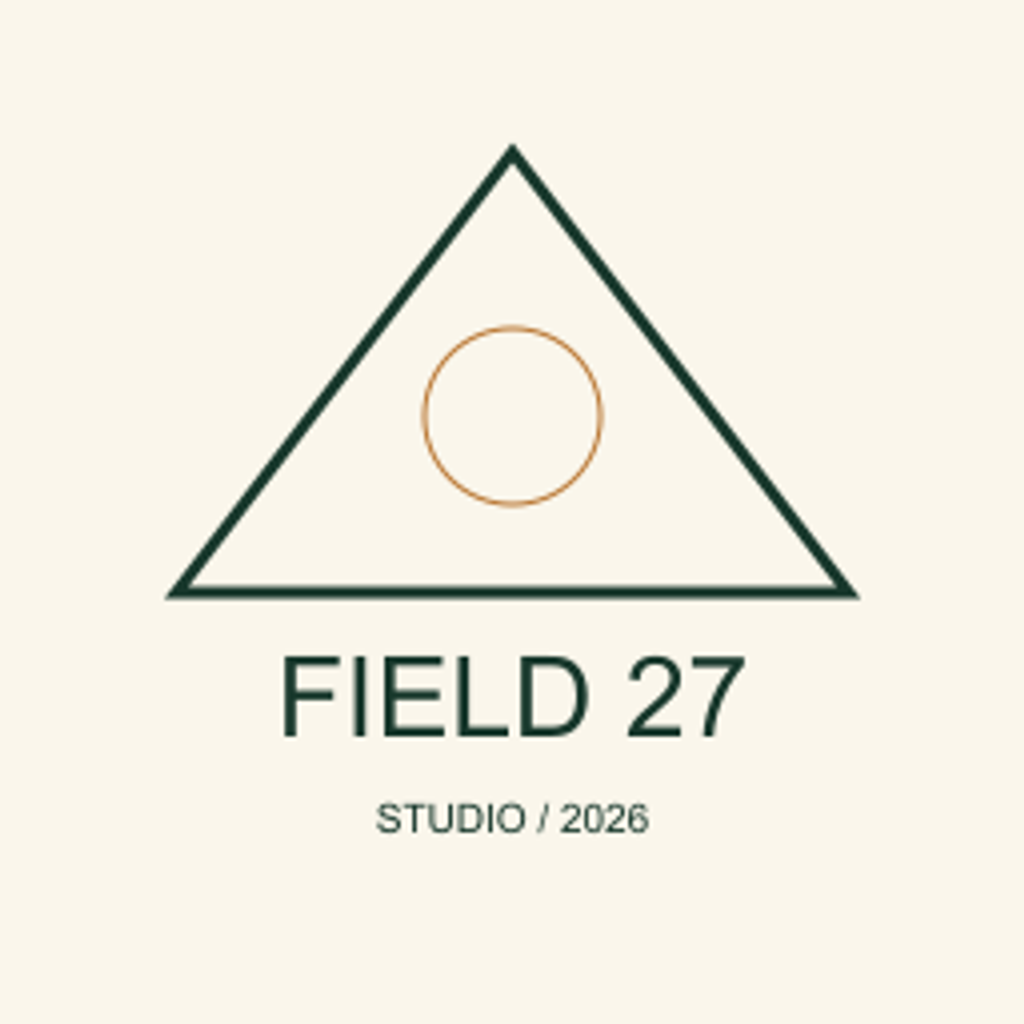
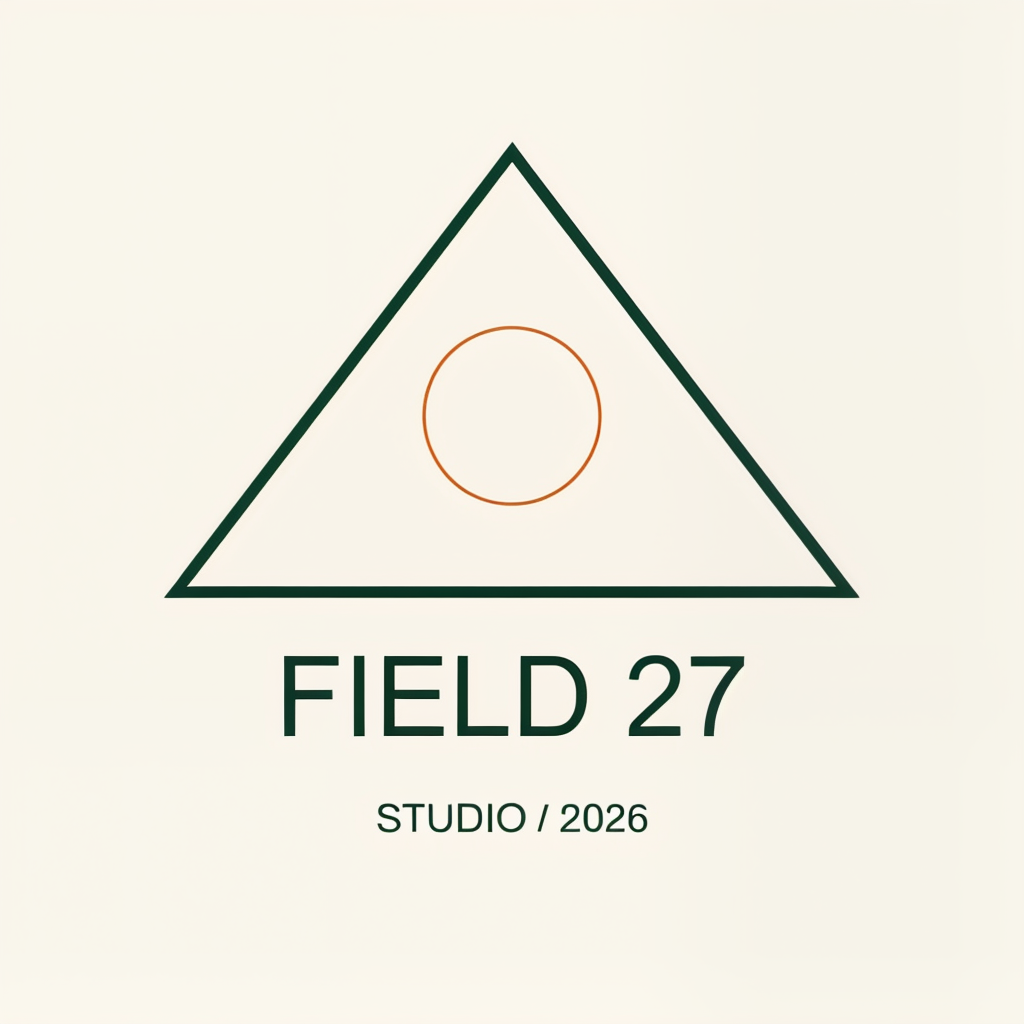
Captured 9 September 2026 with Clarity Upscaler, upscale_factor 4 and other endpoint defaults. Left: actual small input. Middle: ordinary cubic resampling to the returned dimensions. Right: actual AI output. Display WebP files have original-file links; this single example is not a success-rate benchmark.
- FIELD 27 and STUDIO / 2026 remain readable in this particular output, and the major triangle and circle remain intact.
- The background has acquired a subtle texture. Even a simple graphic can change under a generative upscaler.
- For this diagnostic, exporting the original SVG at the desired size would preserve exact geometry and lettering without reconstruction.
Worked example
Illustration: style versus exact linework
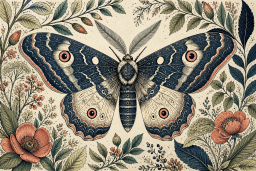
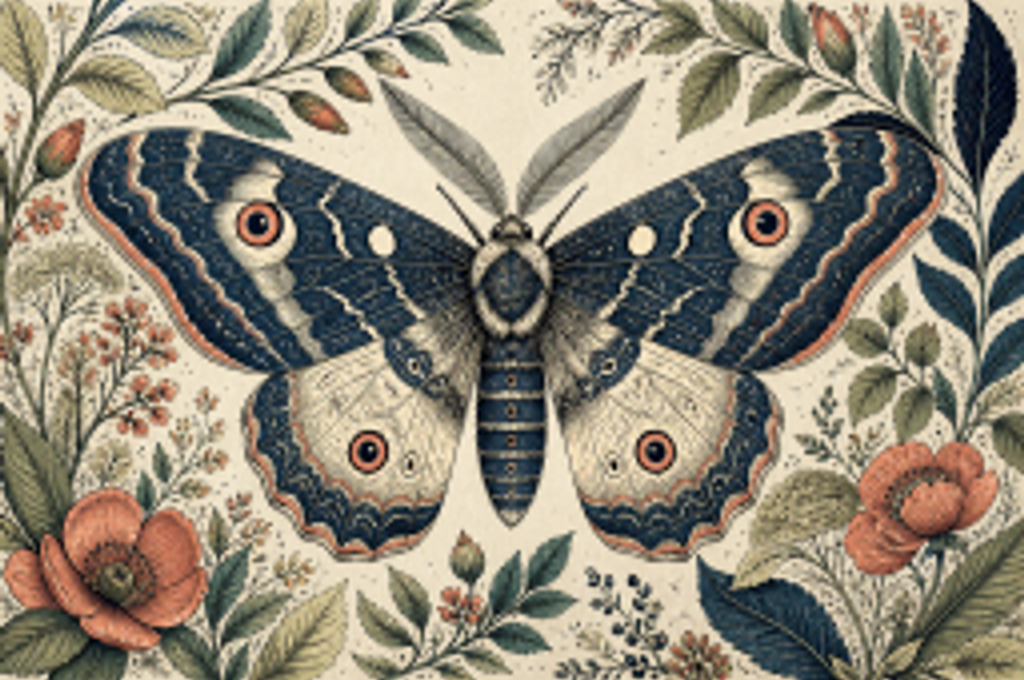
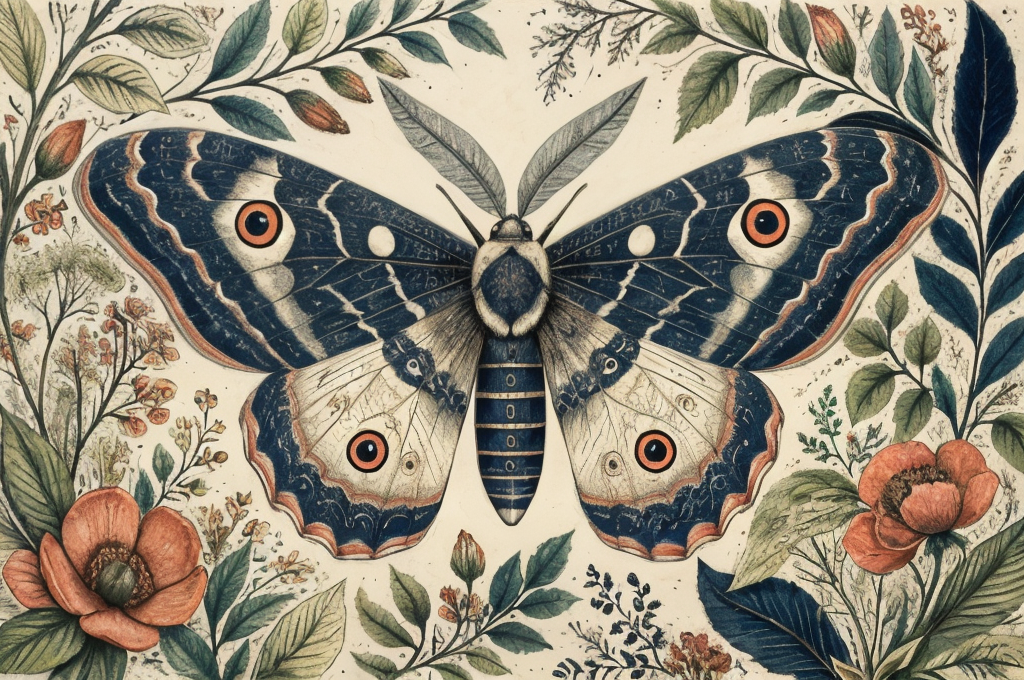
Captured 9 September 2026 with Clarity Upscaler, upscale_factor 4 and other endpoint defaults. Left: actual small input. Middle: ordinary cubic resampling to the returned dimensions. Right: actual AI output. Display WebP files have original-file links; this single example is not a success-rate benchmark.
- The broad wing shapes and eye spots remain recognisable, while small marks and fine contours become reconstructed texture.
- The antennae become broader, leaf-like forms instead of recovering the fine original barbs. This is a visible failure of fine-detail fidelity.
- The 256 × 171 input produced 1024 × 680, not the arithmetic 1024 × 684. The endpoint aligned the output height; inspect actual dimensions.
Worked example
Face detail: sharper does not mean unchanged
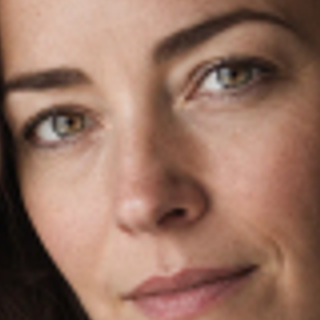
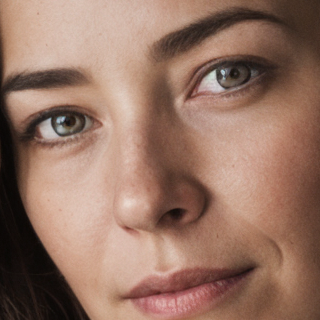
Matching 320 × 320 pixel crops at x=320, y=240 of the two 1024 × 1024 files. No sharpening or retouching was applied to these PNG crops. Open the files to inspect them at native size.
- Compare the eyebrow, eyelid and skin texture. The AI image looks cleaner, but it introduces a particular interpretation of the missing detail.
Check for halos, changed letters, and invented texture
- Halos: look for bright or dark rims around high-contrast edges. They may look crisp at thumbnail size but artificial at full size.
- Letter changes: read every character in a label rather than checking whether it resembles text. Do not accept a plausible replacement for a product code.
- Texture changes: compare fabric weave, skin and repeated patterns. A cleaner-looking texture can also be less faithful to the source.
- Broken linework: follow thin contours through intersections. Watch for joined lines, missing gaps or decorative marks absent from the original.
- Identity changes: compare facial structure as well as apparent sharpness. Added eyelashes or pores do not establish a faithful reconstruction.
Check at two scales. At 100%, each displayed image pixel should correspond to one screen pixel in your viewer; this makes local defects easier to notice. At the actual delivery size, ask whether those defects affect the intended use. For a print, a small proof from the print provider is stronger evidence than a browser thumbnail. Record where the result is acceptable and where it fails.
Prepare an upscaled image for printing
Use pixel dimensions and PPI for the image file. DPI describes dots placed by an output device and is not interchangeable with image pixel density. Simply changing a 600 × 750 file from 72 PPI to 300 PPI without resampling leaves it at 600 × 750 pixels; it changes its nominal print size, not the detail captured in the file.
Once you have the crop and print requirements, enlarge your image to the required size, inspect it, and export in the format requested by the printer. PNG can avoid another lossy JPEG encoding step, but converting an already damaged JPEG to PNG will not restore what was lost. Colour profiles, margins and bleed should follow the destination’s instructions rather than a generic preset.
When an upscaler is the wrong fix
For a logo, diagram or type treatment, look for the original SVG, PDF or design file first. Vector geometry and editable lettering are often a better basis for a larger export than a small raster screenshot. If the original photograph is badly out of focus, more pixels do not guarantee a sharp and truthful image. If a crop is too tight, increasing resolution will not add the missing composition.
Finish the content decisions before making a large delivery file. Background cleanup, layout and typography may need separate attention; the AI image agent overview explains how a planned workflow can connect those operations. Use upscaling when the remaining problem is the size of an otherwise suitable image, and stop if the model changes details you need to preserve.
Questions about image enlargement
- Does 300 PPI make a blurry file sharp? No. Without resampling, the pixel count stays unchanged. With resampling, extra pixels still need to be evaluated for quality.
- Is 4x always better than 2x? No. Use the smallest scale that reaches your target and check the result. A larger output can make errors more visible.
- Should I upscale repeatedly? Preserve the original and compare a direct pass first. Repeated passes may amplify earlier artefacts rather than recover more information.
- Does PNG improve the AI result? It can preserve the pixels being saved without JPEG loss, but the format does not validate the model’s reconstruction.
- Can I trust an enlarged face or product label? Inspect it against a reliable source. Apparent sharpness alone does not prove identity or character accuracy.
If your source is already blocky rather than merely small, read repair an already-pixelated image first — it covers what a model can recover from compression damage and what it invents, before you commit to a scale.