Scan at 600 DPI or higher
Even for small prints. Restoration works from what the scan captured, and a 300 DPI scan has already thrown away detail nothing can bring back.
30 credits per run
Four fixes, each one you can turn off. Because a one-click enhancer that always does all four is how photos end up looking plastic.
Run it here · Your image stays in browser memory until you press Run
Drop an image, press Ctrl+V, or
JPG · PNG · WebP · max 10 MB
30 credits per run
Visual proof
A visual example makes the result easier to judge before you upload anything. The sample below is illustrative; your file is processed only after you approve the run.
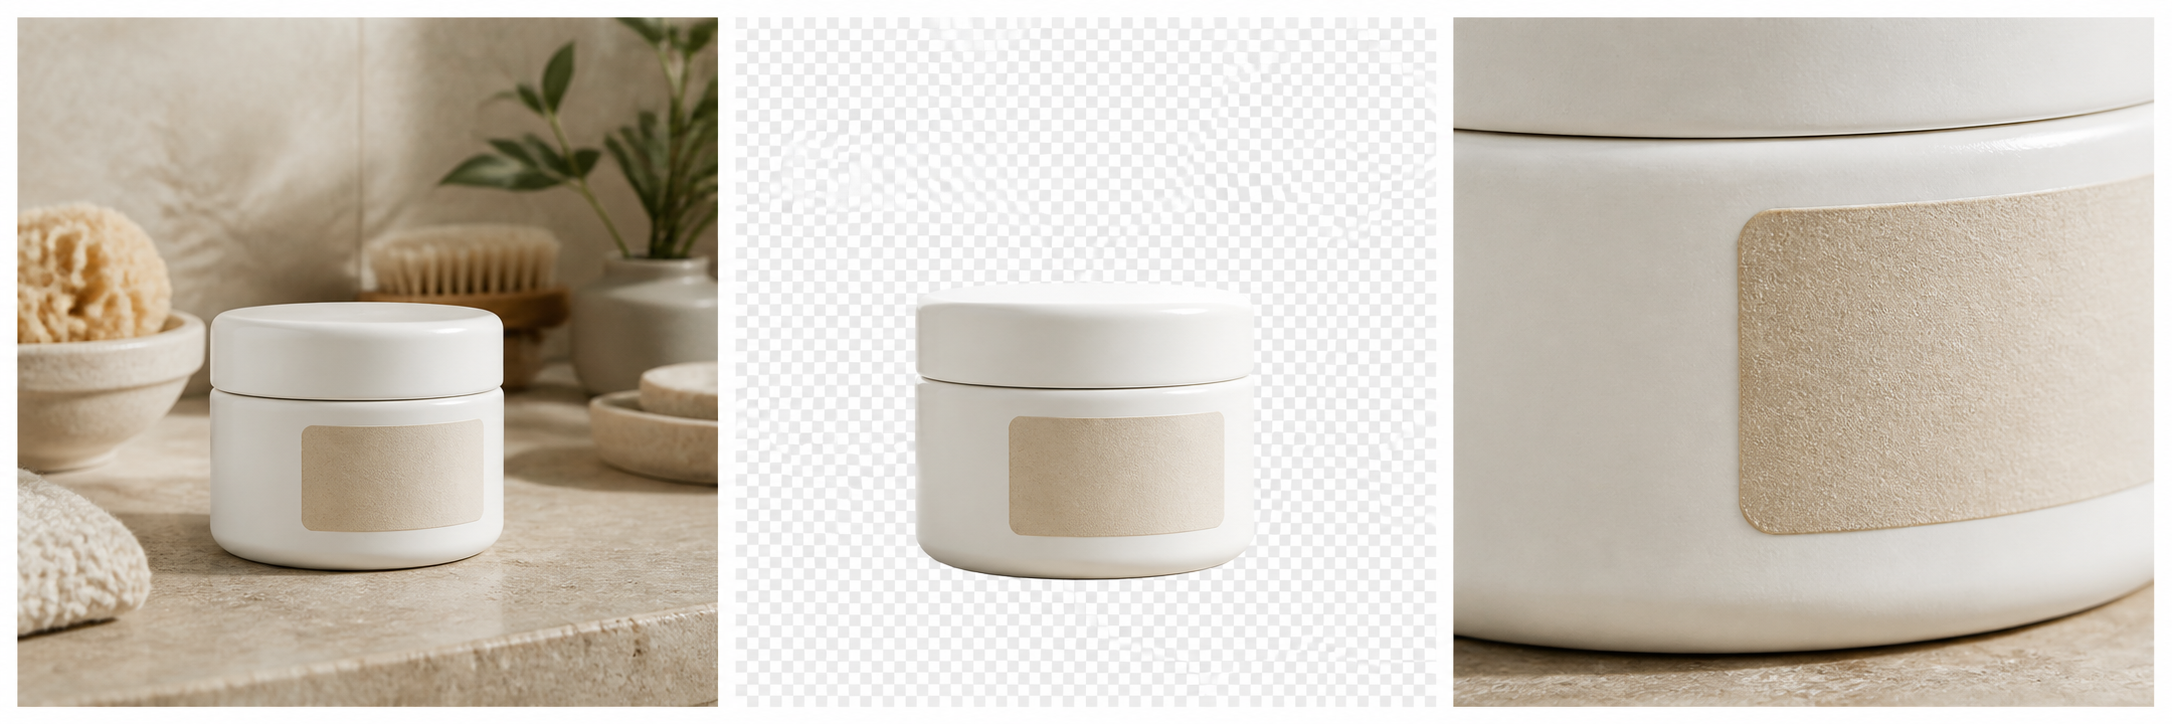
Look at the cap seam, label edge and ceramic texture. Those small boundaries reveal whether an image edit is genuinely clean.
Reference
Enhance image quality is a broad promise. Here is exactly which problems it covers.
| Problem | Can it be fixed? |
|---|---|
| Sensor noise, grain, low-light speckle | Yes — this is the strongest case |
| Compression blocking from a re-saved image | Yes |
| Colour cast, fading, weak contrast | Yes |
| Soft focus, mild motion blur | Partly — sharpening helps, it cannot refocus |
| Small size | No — that is the upscaler, not this |
| Missing corners, tears, heavy damage | No — that needs reconstruction, not enhancement |
Detail
AI photo restoration is a different job from enhancement. The restore mode is tuned for the specific problems of scanned prints: film grain rather than sensor noise, colour fading rather than a white-balance error, dust and light surface damage rather than compression.
Running the enhance mode on an old scan will improve it, but the restore mode does noticeably better on the same file, because it is not trying to correct problems the photograph does not have.
Breakdown
Most of the quality of a restored photograph is decided before any tool touches it. If you can rescan, do these four things first.
Even for small prints. Restoration works from what the scan captured, and a 300 DPI scan has already thrown away detail nothing can bring back.
Automatic sharpening and dust removal in scanner software are crude, and they bake in artefacts that later processing then amplifies.
A JPG scan adds compression artefacts on top of the film grain, and the enhancer then has two problems to solve instead of one.
Including the border. It gives you a clean reference for what the paper white should be, and you can crop afterwards.
Detail
Photos taken indoors at night are mostly noise, and denoising alone often recovers a usable picture from one you were about to delete.
Order matters: denoise before sharpening. Sharpening first amplifies the noise, and denoising afterwards then removes the detail the sharpening created. Running the steps together here applies them in the right order.
FAQ
Up to four things: noise reduction, sharpening, facial detail reconstruction, and automatic colour and contrast correction. You control which of them run.
Keep creating
Runs cost 30 credits. New accounts start with enough to try every tool.