Ecommerce
How to Remove the Background from Product Photos: Tests and Limits
Real cut-outs of a shoe, a glass bottle, fur and a white mug: where automatic background removal fails and how to check a product photo before listing.
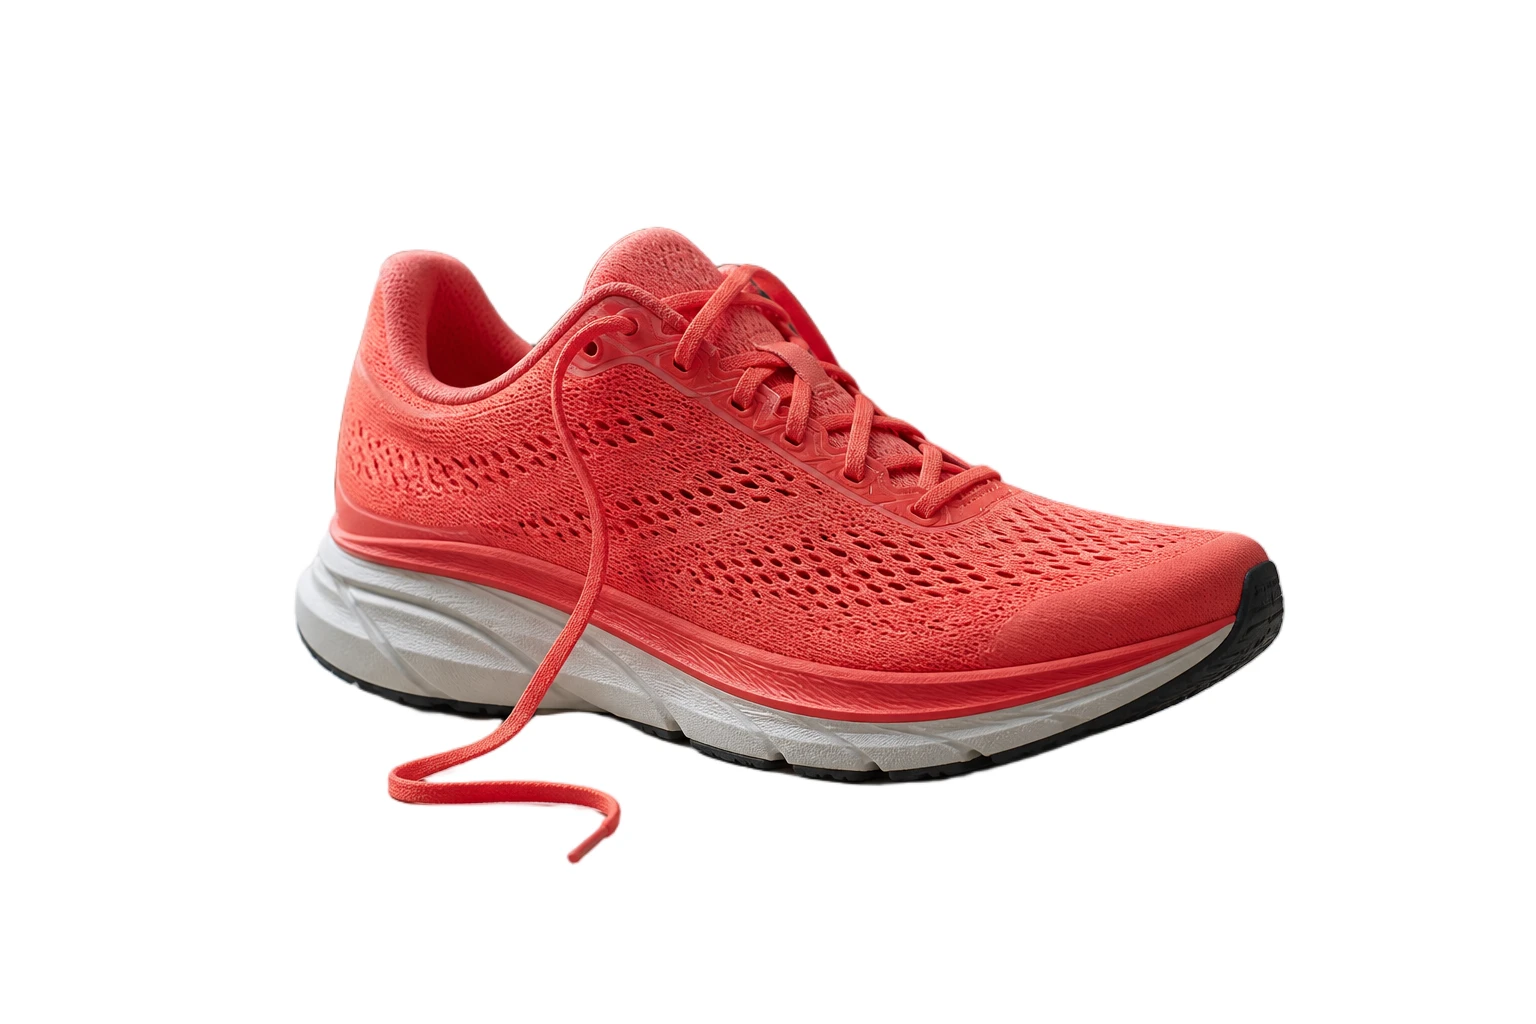
To remove the background from a product photo, start from the sharpest original you have, run it through a background remover, and export a transparent PNG as your master file. Then place that cut-out on the background you will actually publish on and inspect the edge at 100%. Opaque products with a clear outline usually pass on the first run. Glass, fur and anything close in colour to its surroundings need a second look, and the tests below show what to look for.
What a marketplace image actually needs
Requirements differ by channel and they change, so read the current rule for each place you sell. Amazon asks for a pure white background on the main product image. Google Merchant Center recommends a solid white or transparent background with the product filling roughly 75% to 90% of the frame, and warns against transparent backgrounds for light-coloured products because they can be displayed on black. A shop on your own storefront has no such rule, but a consistent catalogue still reads as one shop rather than a collection of snapshots.
| Destination | Background to prepare | File to export |
|---|---|---|
| Marketplace main image | Pure white, with a deliberate soft shadow if the rules allow it | JPG or PNG flattened onto white |
| Shopping feed | White or transparent; white for pale products | PNG, or JPG on white |
| Your own storefront | One consistent colour or scene across the catalogue | PNG master, flattened copies per page |
| Ads, banners and print | Transparent, so the designer can place it | PNG with alpha |
How to remove the background, step by step
Open the AI background remover and decide what the background should become before you upload. That choice determines which edge problems matter: a pale halo disappears on white and shows on a dark colour, while rug-coloured fringe does the opposite.
1. Pick the destination
Choose Transparent for a reusable master, White for a catalogue main image, or a colour, gradient or your own image for a finished composite.
2. Add the original
Upload the camera file or the largest export you have. A screenshot or a re-compressed copy gives the model less edge to work with.
3. Run and inspect
Check the result against the checkerboard at full size. Look at enclosed gaps such as handles and lace loops, then at the softest edge in the picture.
4. Test on the real background
Place the cut-out on the colour you will publish on. An edge that looks clean on one colour can fail on another.
5. Export twice
Keep a transparent PNG as the master. Export a flattened JPG or WebP only for the page that needs it.
Four product photos, tested
Each test below shows the source, the cut-out flattened onto pure white, and the same cut-out on saturated magenta. White is the marketplace view. Magenta is a diagnostic: it exposes holes, leftover background and anything that should have been transparent. Every figure links to the original file so you can inspect it at full size.
Worked example
Running shoe on a cluttered desk: the routine case
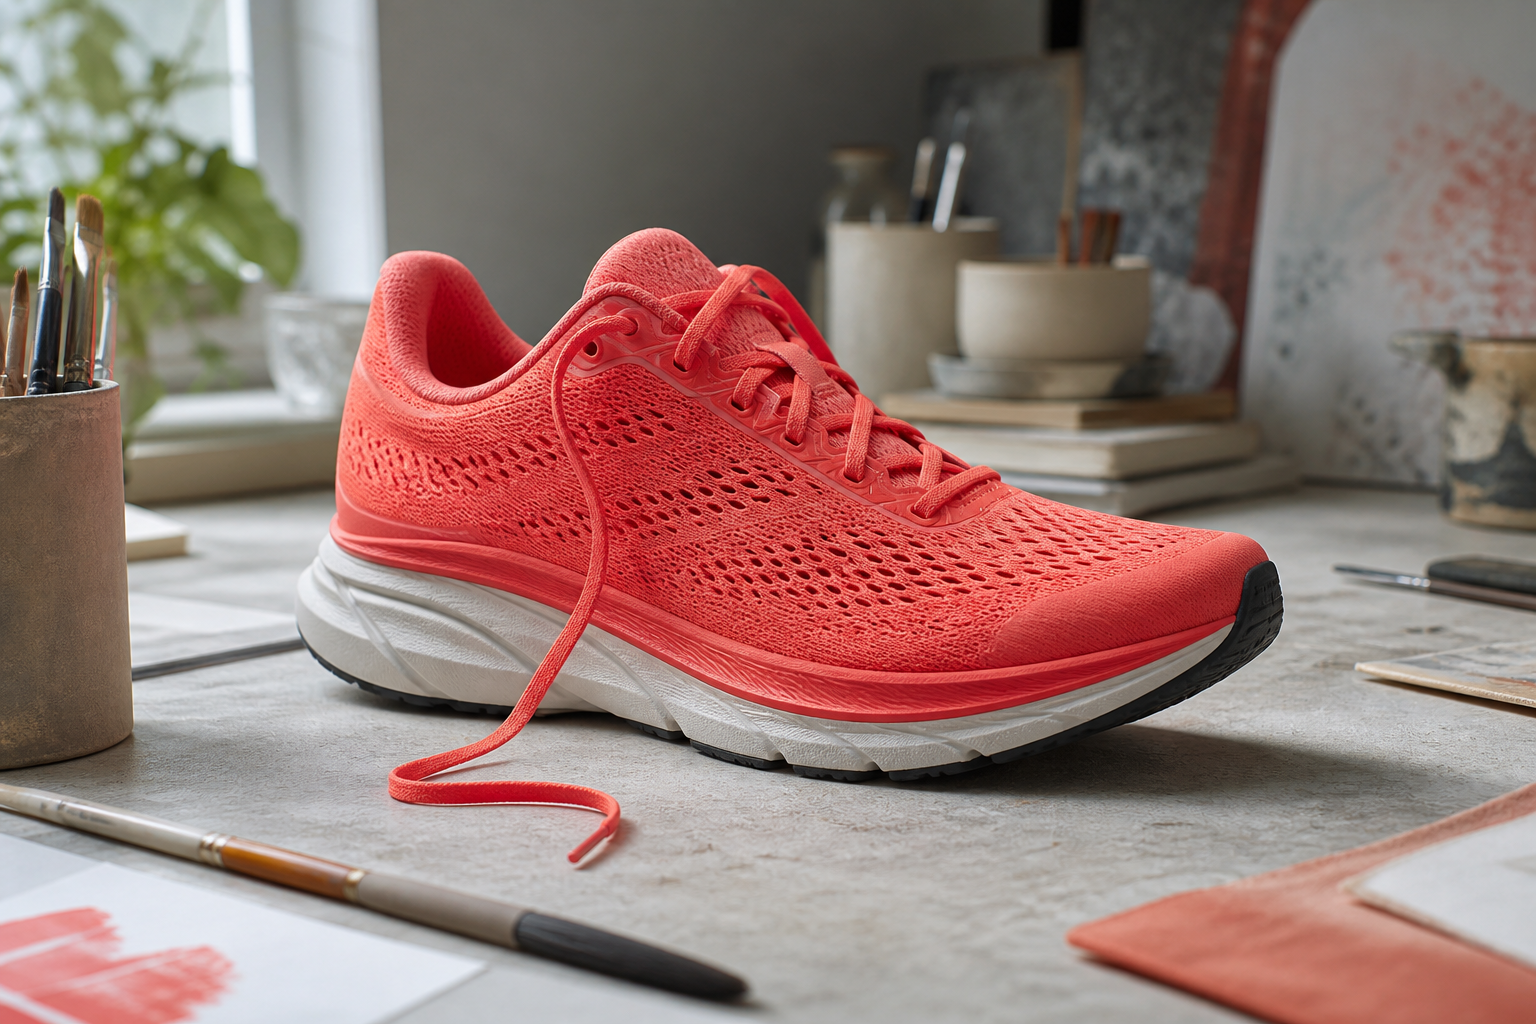
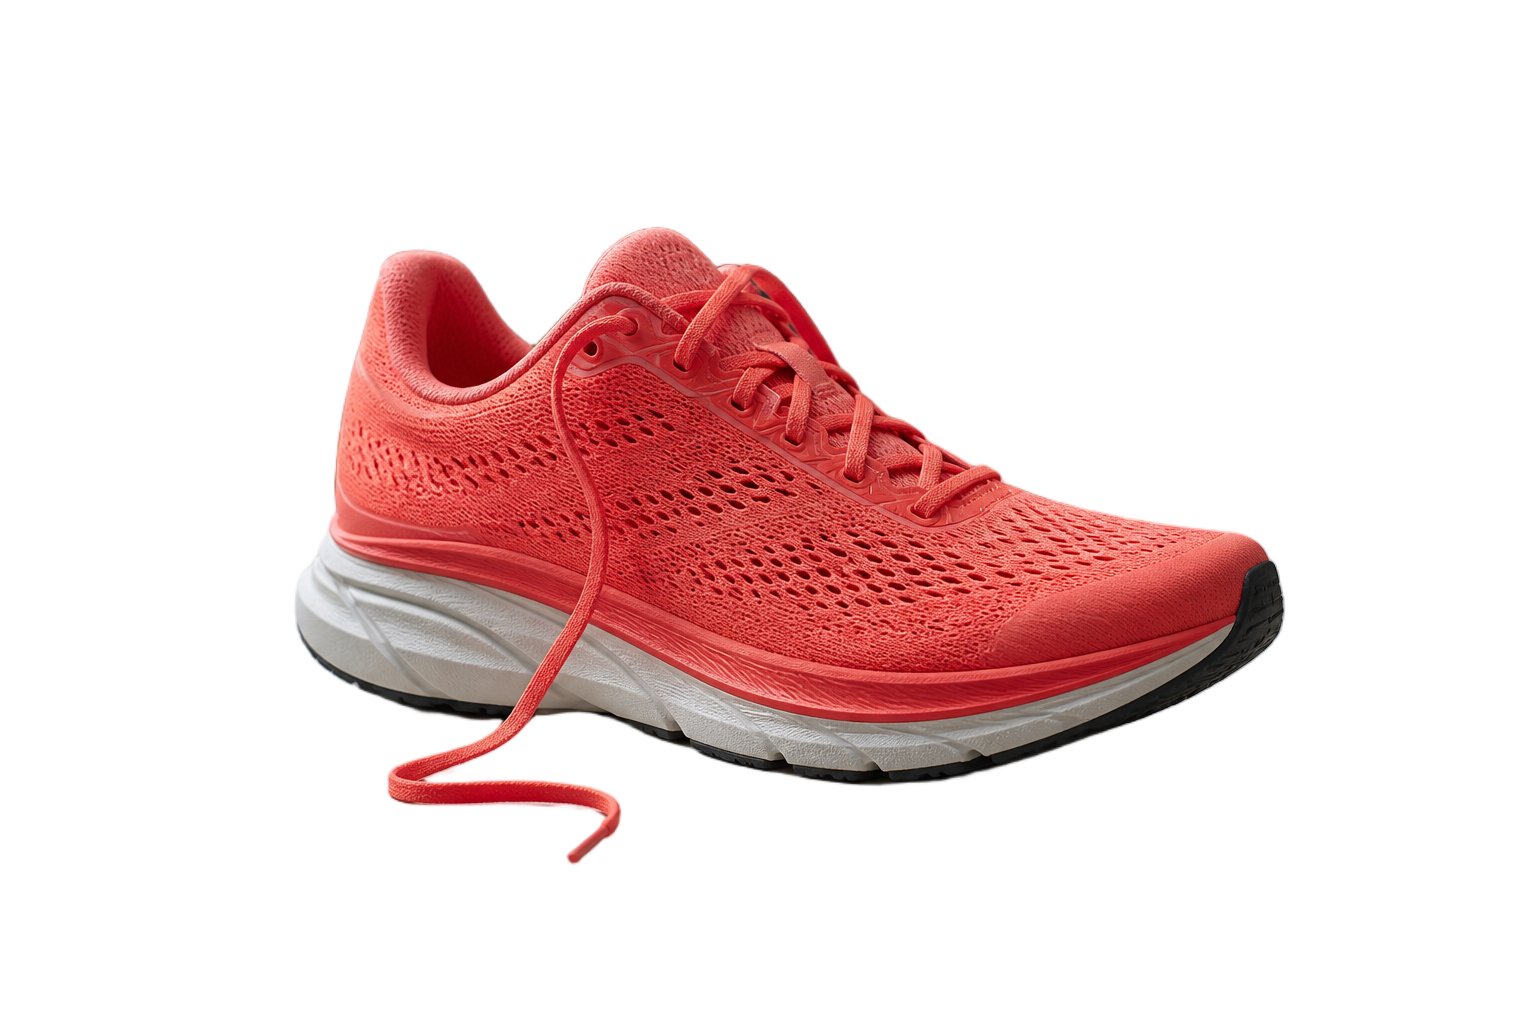
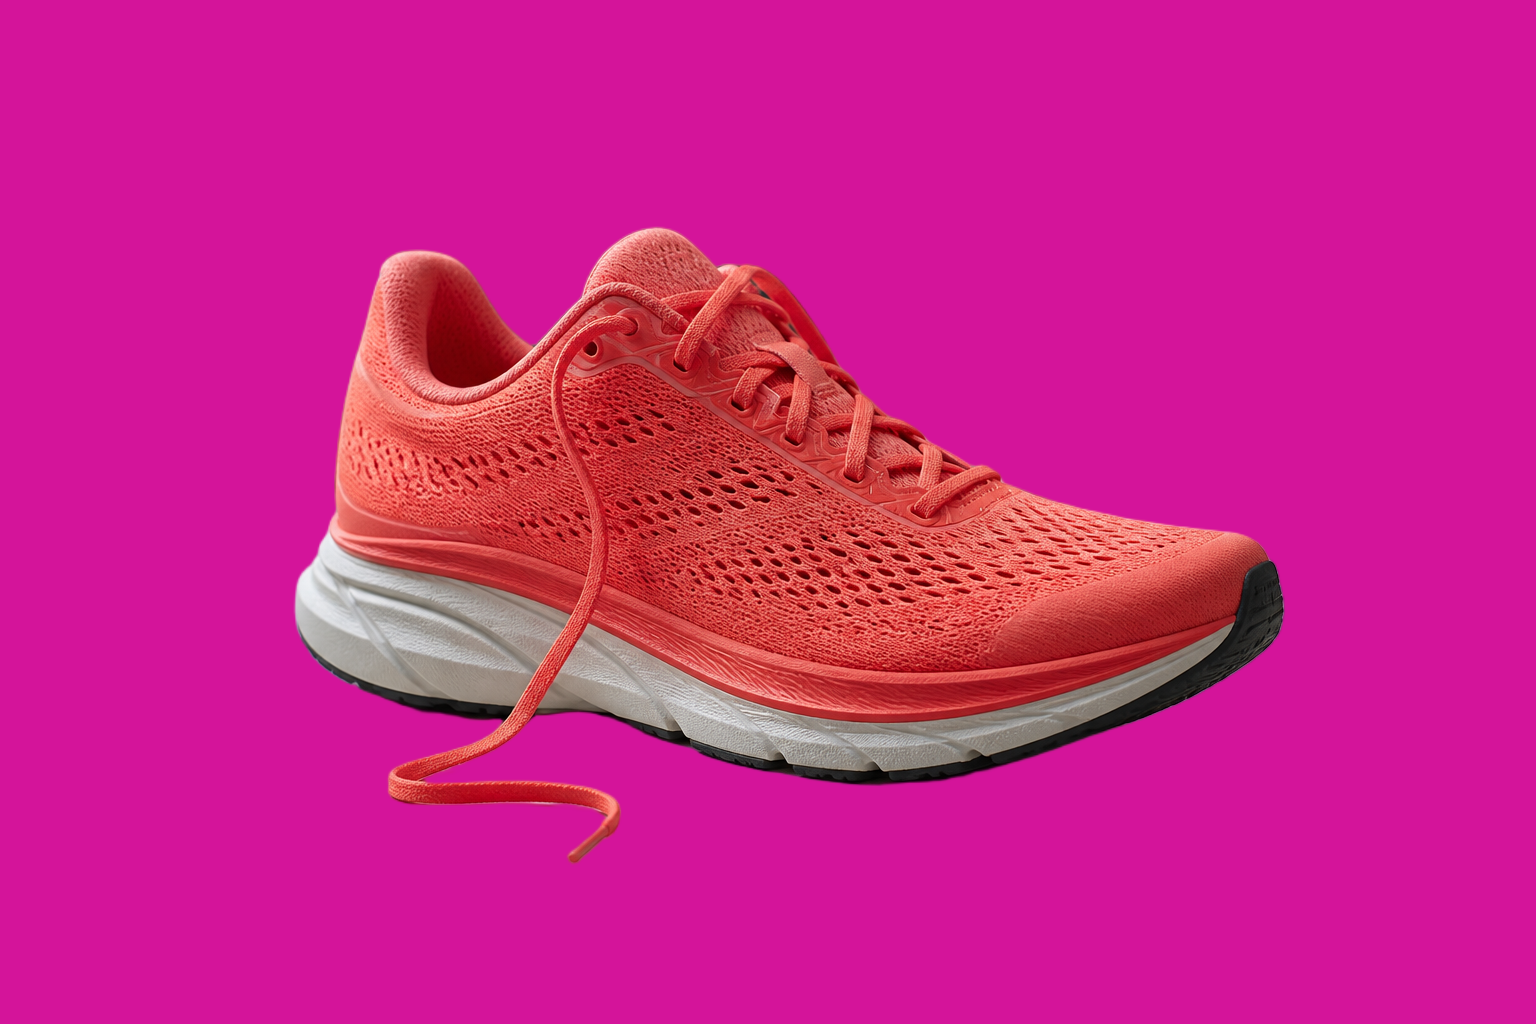
Captured 17 September 2026 with BiRefNet v2 at its default settings: one run per image, no retry and no manual matte editing. The source is an AI-generated teaching reference that also appears on the tool page; it is not a customer photograph.
- The shoe, the mesh upper and the loose lace are separated from brushes, paper and a painted board without visible leftovers.
- The contact shadow under the sole is removed along with the desk. On white, the lace and the shoe float until a shadow is added back.
- The white midsole sits directly against the white background. The edge is still correct in the file, but it is much harder to see than it is on magenta.
Worked example
Shoe lace at 100%
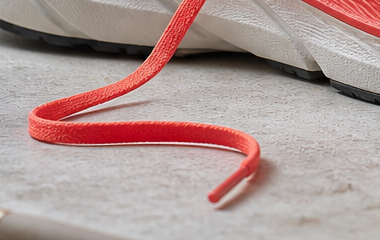
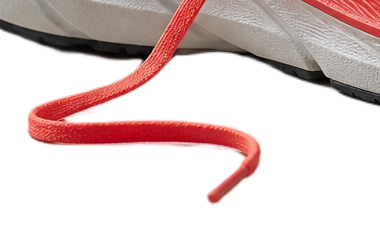
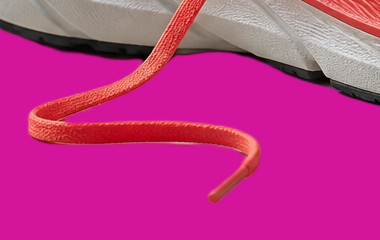
A 380 × 240 px region of the same files, shown without resampling.
- The thin lace keeps its full width and its plastic tip. No desk texture remains beside it.
- The soft shadow that anchored the lace to the desk is gone. That is the expected behaviour of a cut-out, not a defect.
Worked example
Glass perfume bottle: the outline is right, the transparency is not
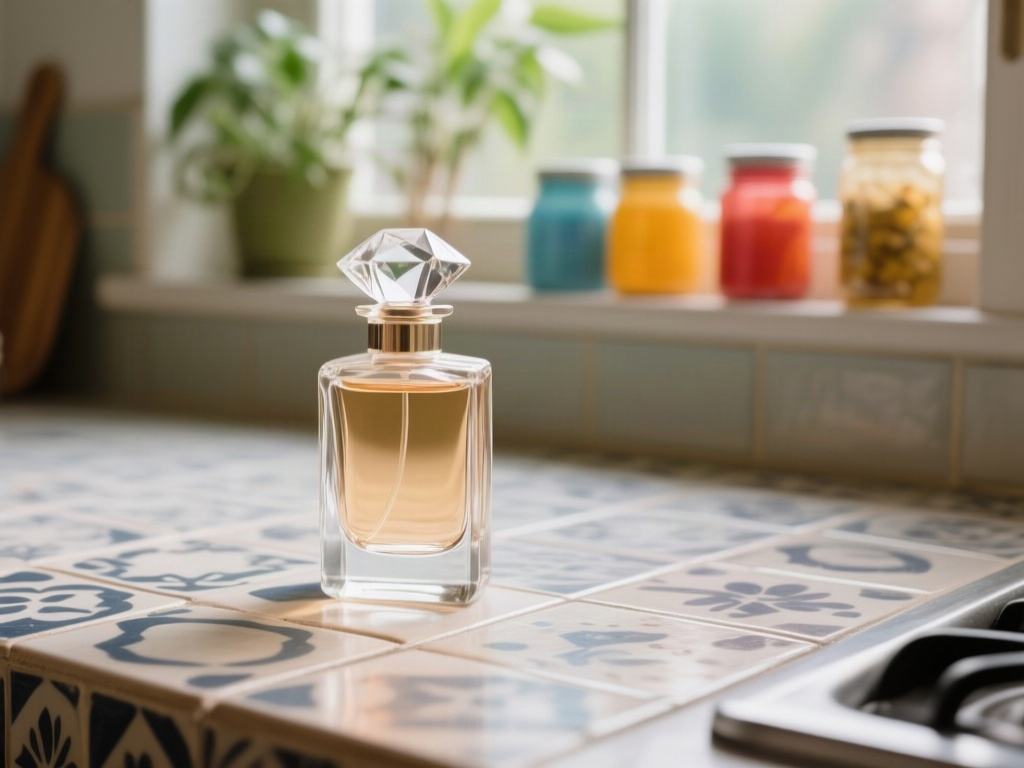
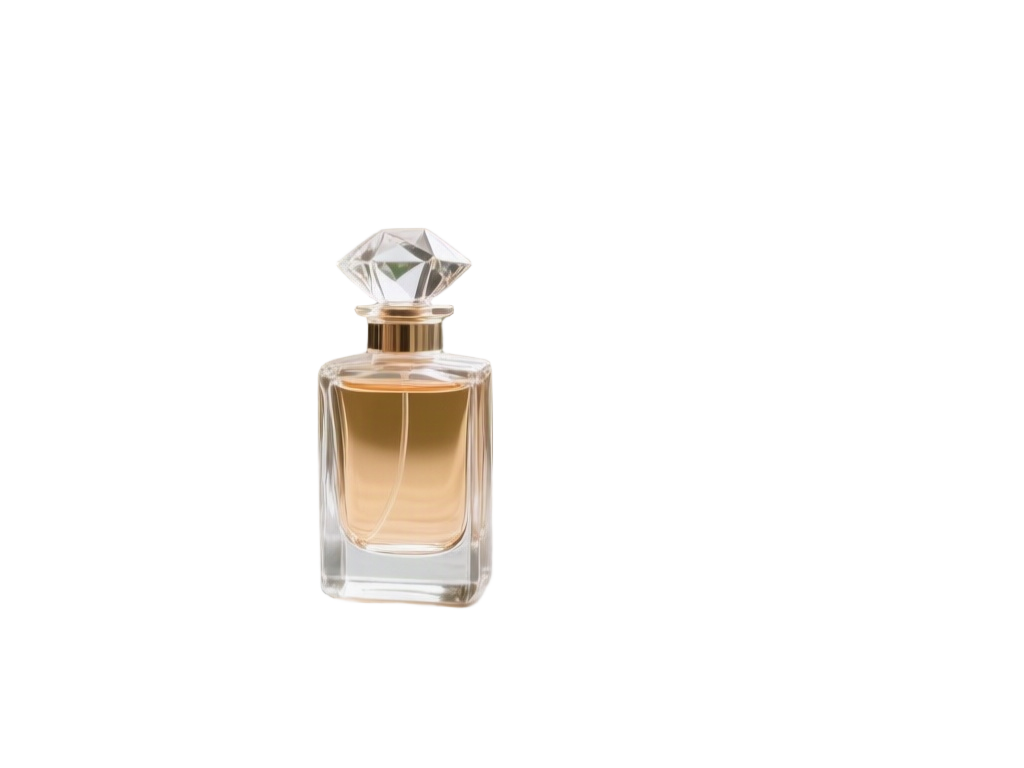
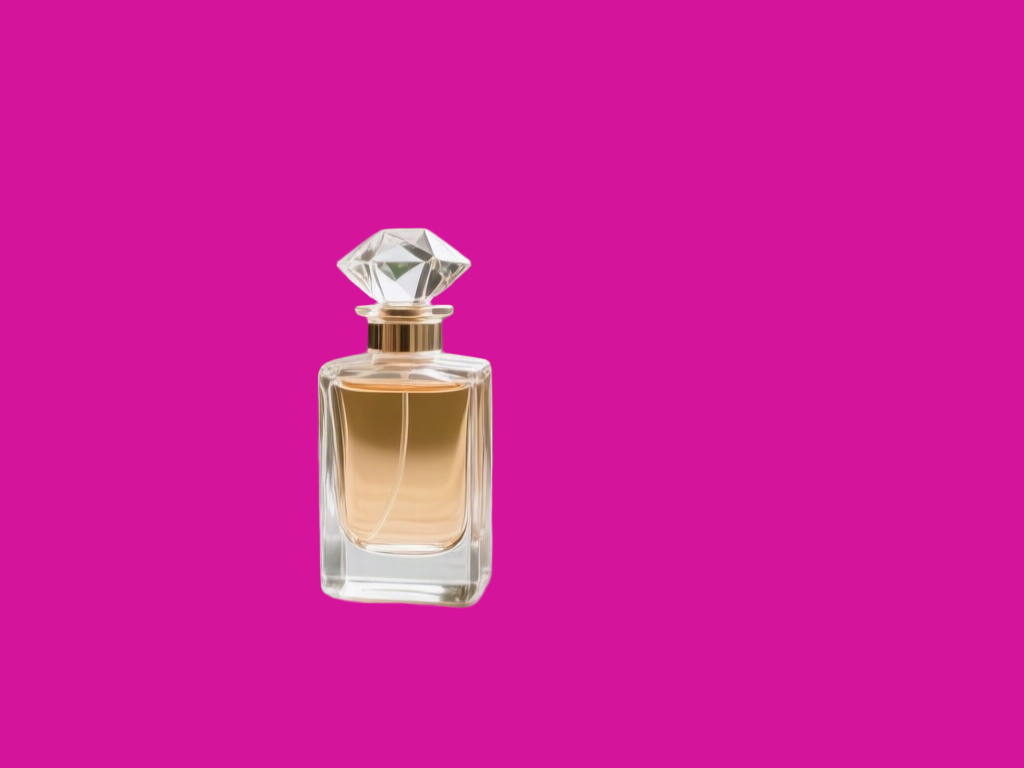
Captured 17 September 2026 with BiRefNet v2 at its default settings: one run per image, no retry and no manual matte editing. The source is an AI-generated teaching reference made for this guide with Qwen Image, first completed generation.
- The silhouette of the bottle and the faceted stopper is accurate.
- The glass is kept as an opaque picture of glass. In the alpha channel, 97.3% of the sampled bottle body and 92.2% of the stopper are fully opaque, so a new background does not show through them.
- Whatever the glass showed in the original room is now part of the product: the grey-blue tile tones in the base and the green and teal reflections in the stopper.
Worked example
Glass bottle at 100%
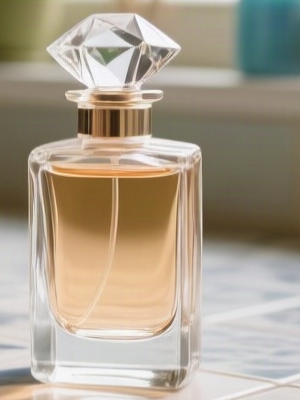
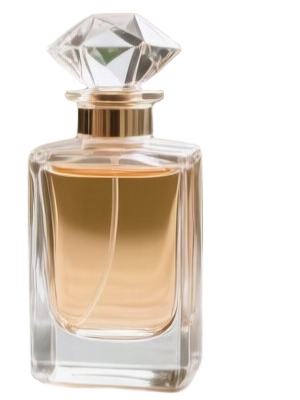
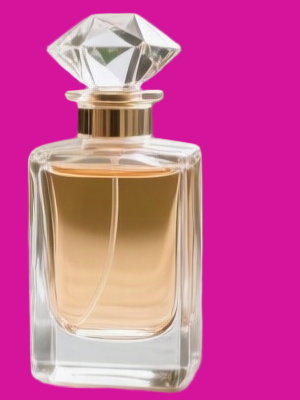
A 300 × 400 px region of the same files, shown without resampling.
- On magenta, the thick glass base stays grey instead of taking on the new colour. A real bottle photographed on magenta would not look like this.
- On white the result is acceptable at thumbnail size, because grey glass on white is plausible. It breaks as soon as the backdrop is coloured or textured.
Worked example
Sheepskin slipper on a woven rug: fine fibres and colour spill
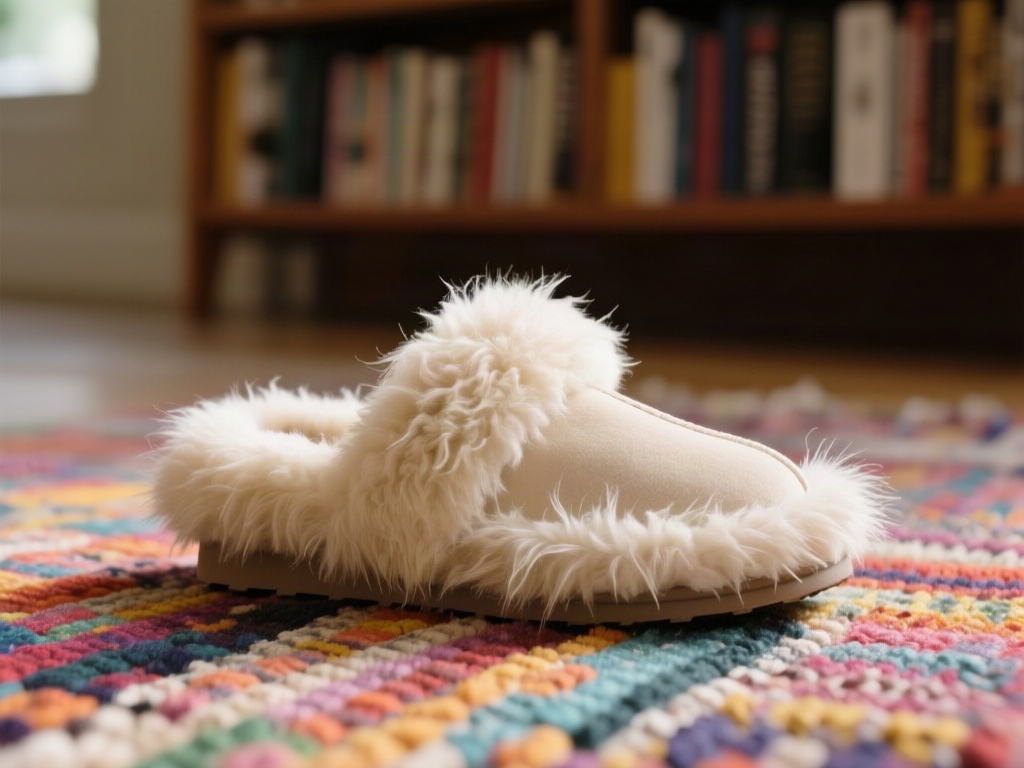
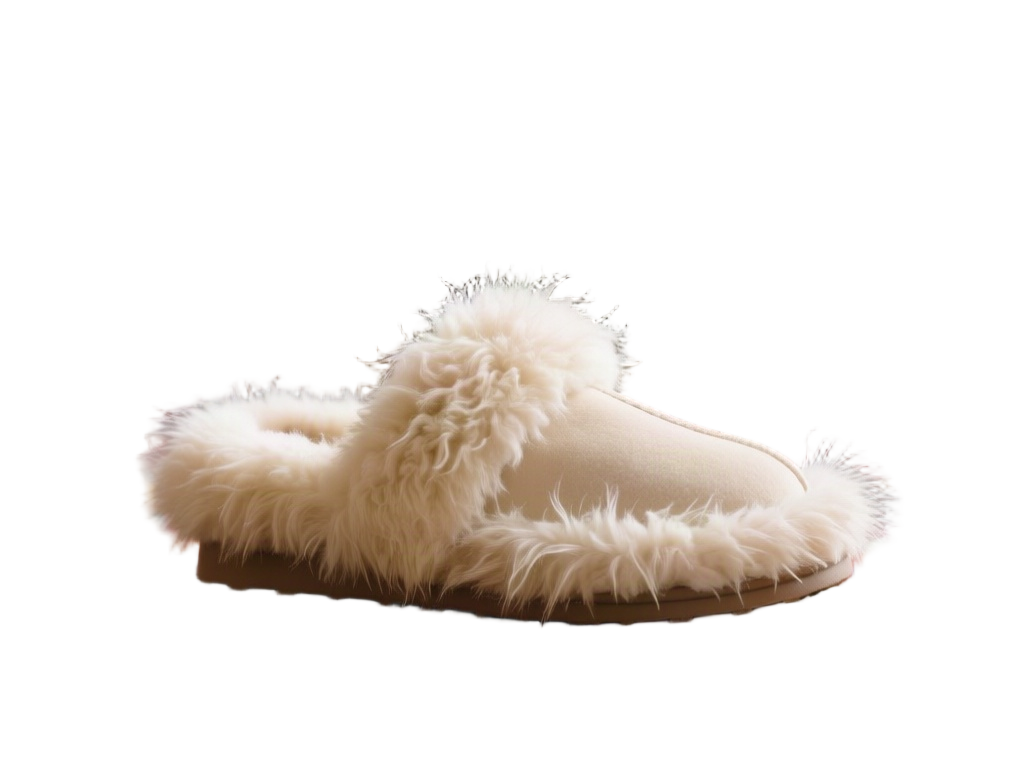
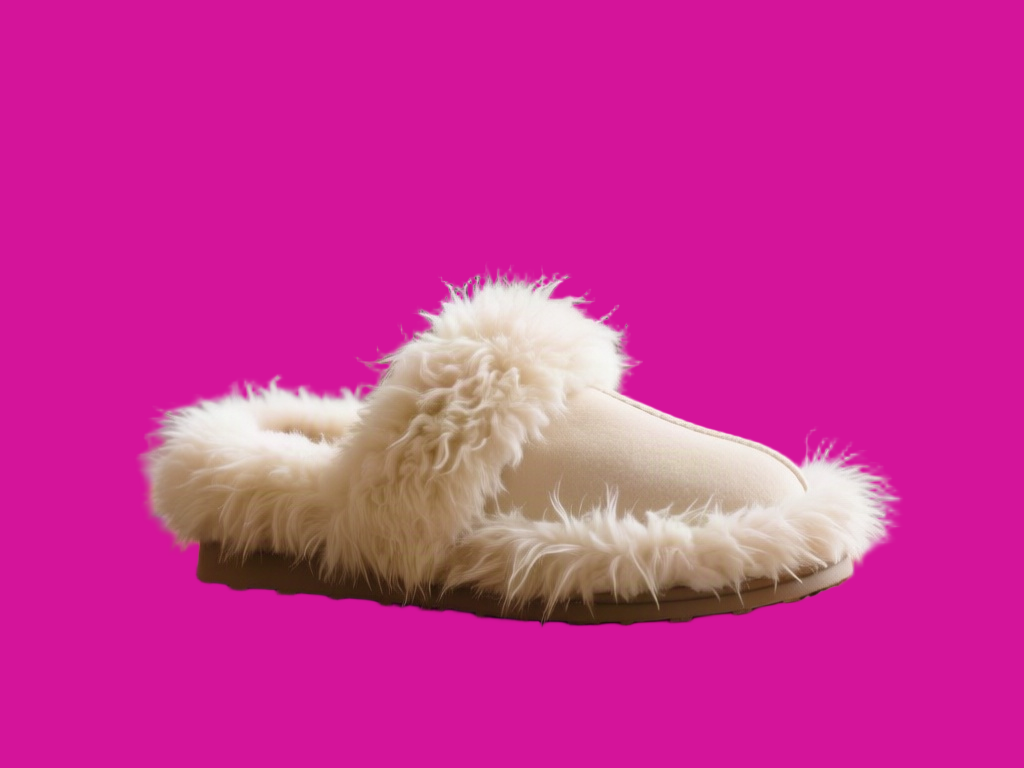
Captured 17 September 2026 with BiRefNet v2 at its default settings: one run per image, no retry and no manual matte editing. The source is an AI-generated teaching reference made for this guide with Qwen Image, first completed generation.
- The overall shape and most of the fringe survive. 2.39% of the frame is partially transparent, about three times the share in the shoe, because every strand is a soft edge.
- The longest wisps at the toe are shortened or dropped.
- Where strands overlapped the rug, they keep some of its colour. The contamination is hard to see on magenta and obvious on white.
Worked example
Fur edge at 100%
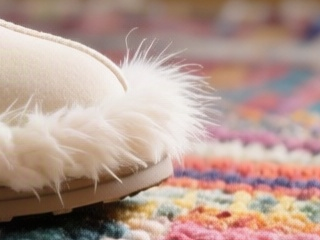
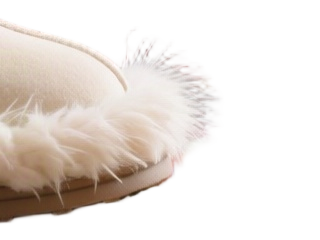
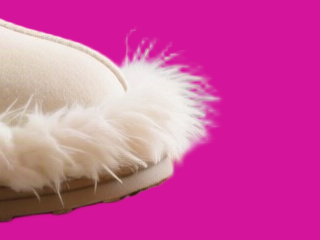
A 320 × 240 px region of the same files, shown without resampling.
- On white, the tips of the outer strands read as dark and purplish. Those are rug colours carried in semi-transparent pixels.
- The same pixels look clean on magenta. Check a cut-out on the background you will actually publish on, not only on a preview colour.
Worked example
White mug in a white room: low contrast that still worked
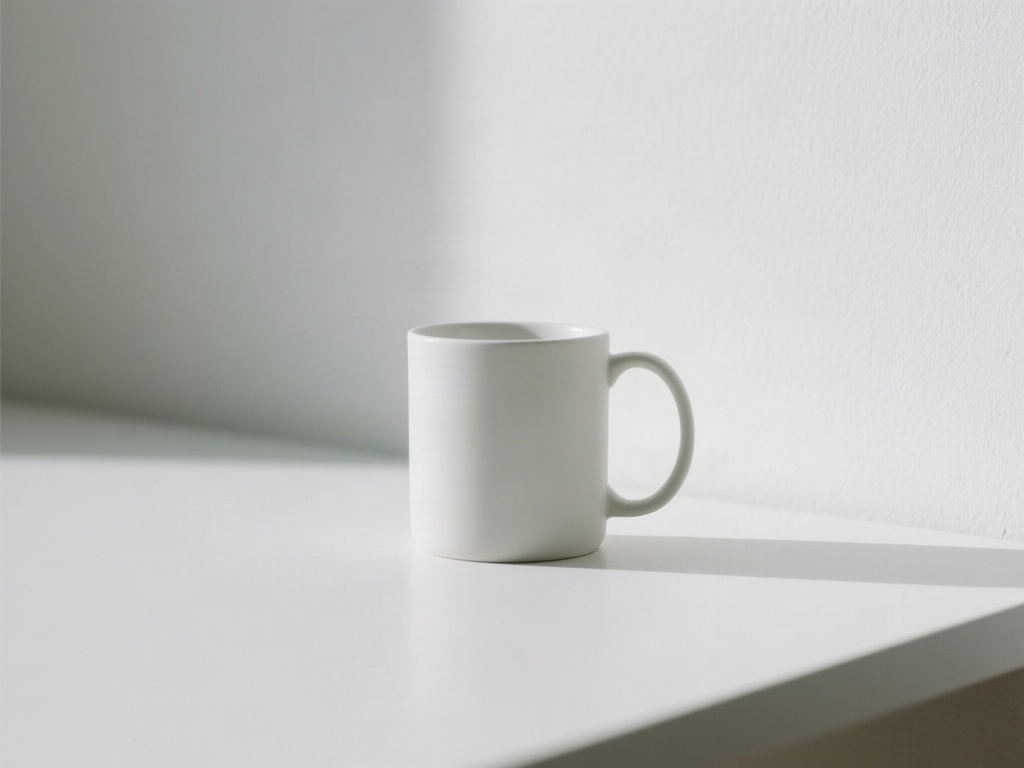
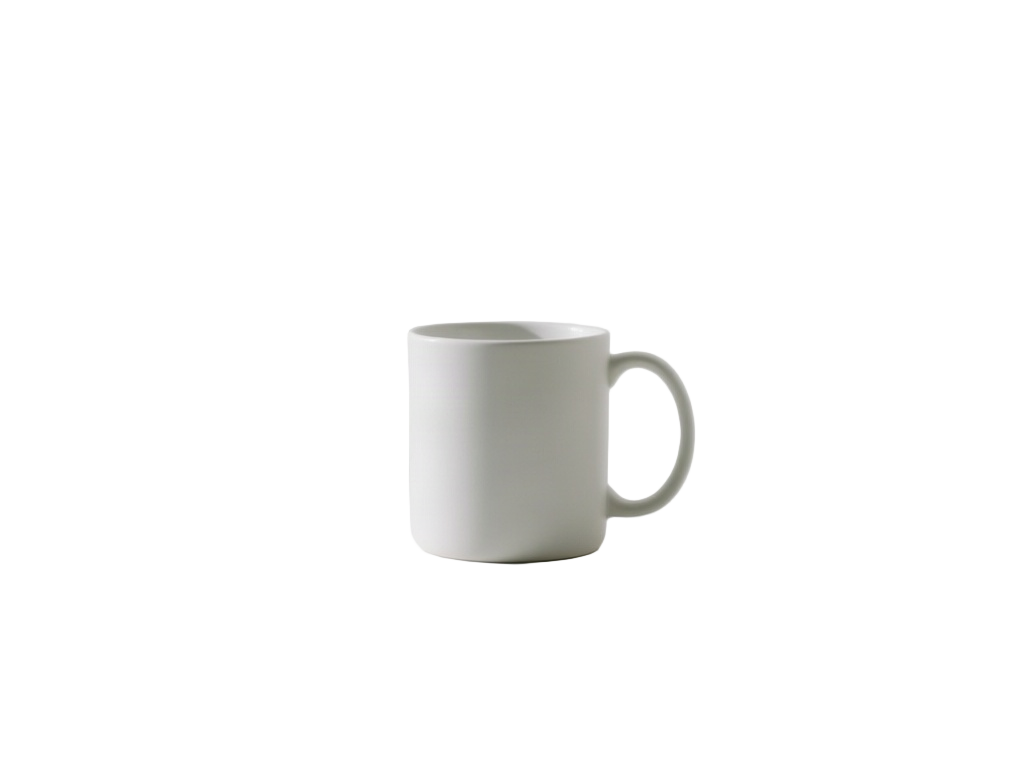
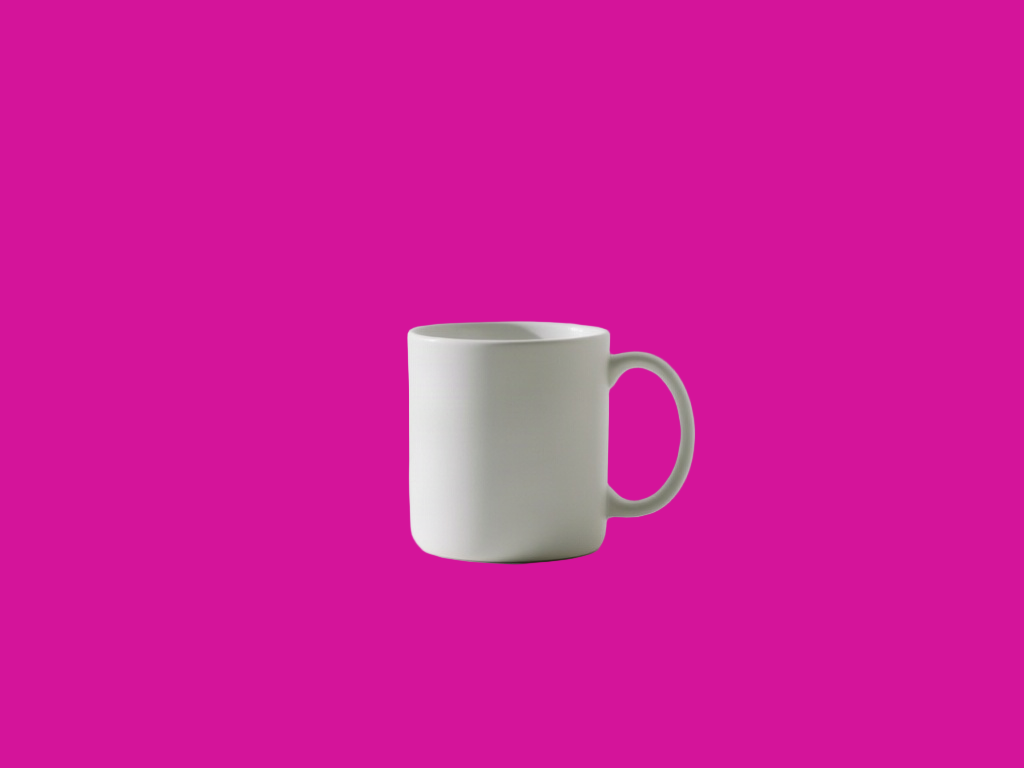
Captured 17 September 2026 with BiRefNet v2 at its default settings: one run per image, no retry and no manual matte editing. The source is an AI-generated teaching reference made for this guide with Qwen Image, first completed generation. The generated mug is slightly darker than the wall, so this is a low-contrast test rather than a true white-on-white one.
- The mug is separated cleanly and the enclosed gap inside the handle is transparent.
- The cast shadow on the table is removed. On pure white the mug now reads as light grey, which is how it was lit, and it has nothing to stand on.
- This capture does not show that identical subject and background colours are safe. It shows that a small, even difference in tone was enough here.
Where automatic removal fails, and what to do
| Material or situation | What we observed | What to do |
|---|---|---|
| Opaque product, clear outline | Clean separation, including a thin loose lace | Use the result; add a shadow back |
| Clear glass | Correct outline, but 97% of the body stays opaque and keeps the room’s colours | Publish on white or a neutral close to the original surroundings, or reshoot on the final background colour |
| Fur, wool, hair | Longest strands shortened; rug colours carried into the fringe | Check on the final background; shoot against a plain surface of a similar tone to the destination |
| Low contrast with the background | Worked with a small, even tonal difference | Do not rely on it; add separation with light or a slightly darker backdrop |
The common thread is that the hard cases are decided when the photo is taken. A plain surface behind a fur product costs nothing and removes the colour spill entirely. Glass photographed on a white sweep will look right on a white listing, because whatever it refracts is already white. Post-processing can hide a bad edge; it cannot put a new room inside a bottle.
Shadows are a decision, not a leftover
All four tests lost their contact shadow, because the shadow belongs to the surface and the surface was removed. A product with no shadow floats: the eye reads it as a sticker rather than an object. A soft shadow under the base is usually enough, and it is the difference between a listing photo that looks composited and one that looks photographed. Add it on purpose, in the same direction as the light on the product, and keep the background itself pure white where a marketplace requires that.
Keep the original cut-out with transparency and composite from it, rather than saving a flattened white version and cutting it out again later. The second cut is always worse, because you are now separating white from white. The shoe test shows the problem in miniature: the white midsole is correct in the file but nearly invisible against the white background.
PNG, JPG or WebP
Export PNG when you need transparency for compositing, print or cutting machines. WebP also stores transparency and is smaller, which suits your own storefront. JPG cannot store an alpha channel, so it flattens onto whichever background you picked; use it only when that background is final and file size matters. If a marketplace zoom feature needs more pixels than your original has, increase image resolution after the cut-out is approved, not before, so that you inspect the edge once at its true size.
A cut-out is a starting point, not the finish
Once the subject is separated you are not limited to white. The same tool places the transparent PNG cutout on a solid colour, a gradient or your own backdrop. For a finished scene with matching light and a shadow, the AI image workspace can take the same cut-out through placement, edge repair and upscaling as one confirmed plan.
Questions about product photo backgrounds
Does a white background have to be exactly white? For a marketplace main image, prepare pure white and flatten onto it yourself rather than trusting a photographed white sweep, which is usually light grey. The mug test shows how far a “white” scene can be from white once it sits on a real one.
Can glass be cut out properly? The outline can. The transparency cannot be recovered from a single photo by a segmentation model, because the pixels inside the glass already contain the old background. Plan the shot for the final background colour.
Why does my cut-out look fine in the preview and wrong on the site? Previews are small and usually use one background. Colour spill and halos depend on the contrast between the leftover edge pixels and the new background, so they appear only when that background changes.
Working from a weak source? A cutout cannot repair a mushy image — see fix a pixelated product photo for what a model can recover before you remove the background. You can also edit photos without signing up: every tool here takes one free run a day anonymously.