Guides
How to Restore Old Family Photos with AI
Scanning advice, what restoration can and cannot recover, and the one setting to be careful with when faces are involved.
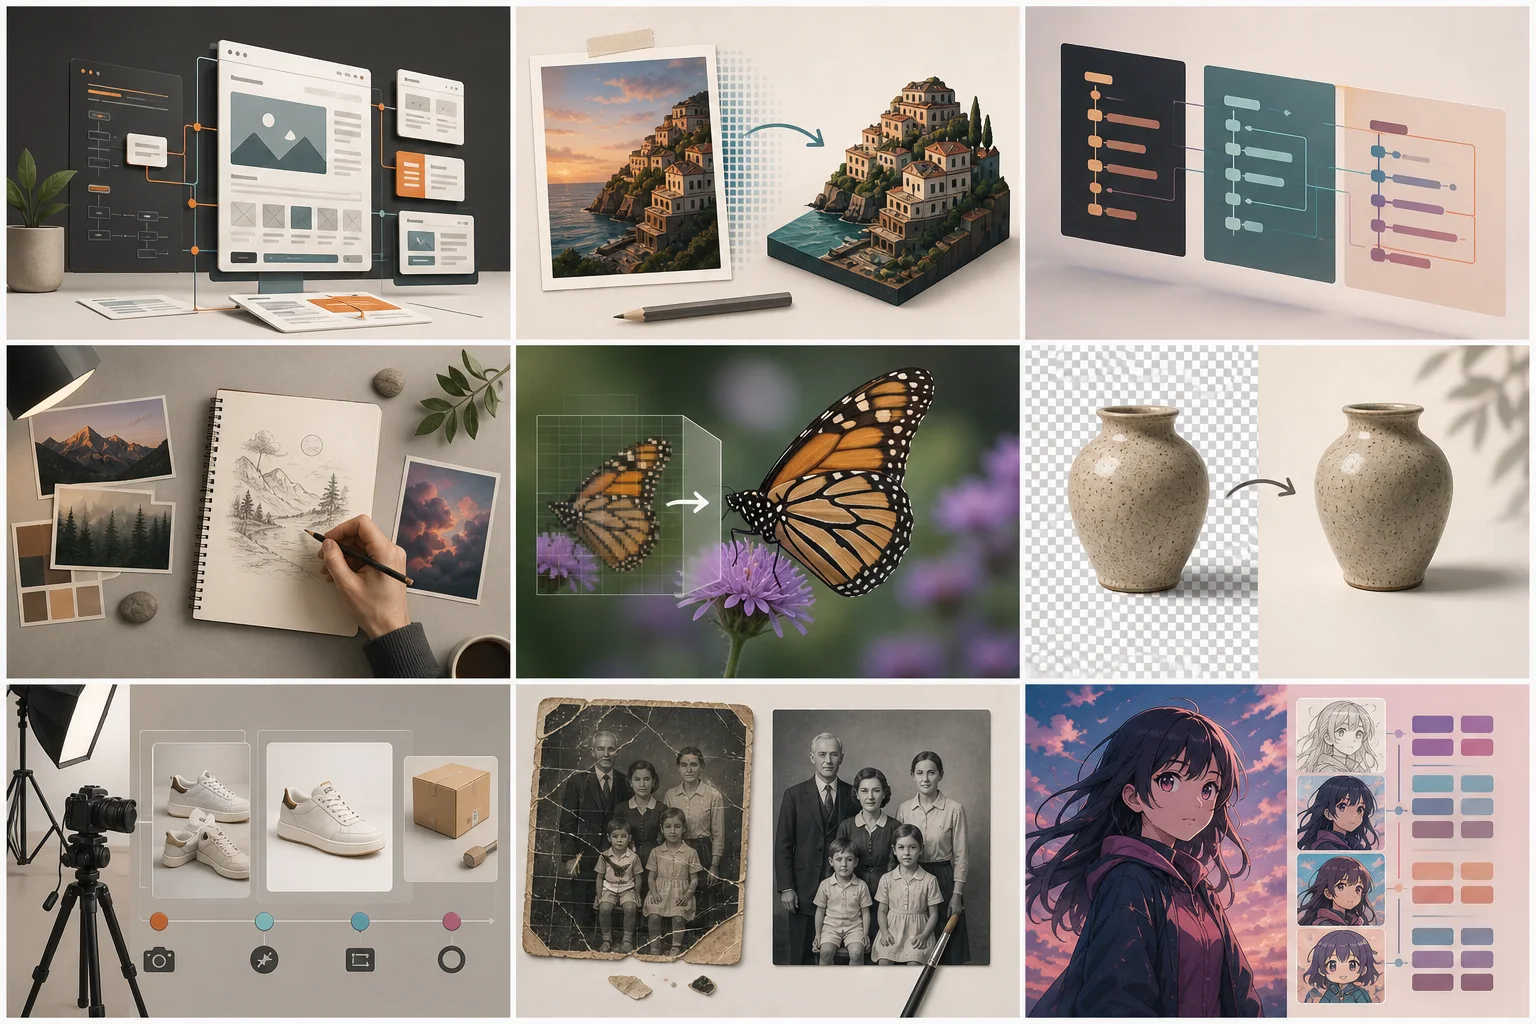
Most of the quality of a restored photograph is decided at the scanner, not afterwards.
Scan settings that matter more than the software
- Scan at 600 DPI or higher, even for small prints.
- Turn off automatic sharpening and dust removal in the scanner software.
- Save as PNG or TIFF, never JPG — compression throws away exactly what restoration needs.
What restoration handles well, and what it does not
It handles film grain, colour fading and casts, low contrast, light surface dust and small scratches. It handles large physical damage, missing corners and lost emulsion much less well, because those need reconstruction — inventing content rather than recovering it.
The warning about faces
Keep the original scan
Whatever you do next, archive the untouched scan somewhere safe first. Restoration tools change, and a scan you made once is the only artefact that still contains the actual photographic record — every restored version after it is an interpretation. Families lose the original far more often than they lose the print.
Colour is worth treating separately from damage. A faded colour print has usually lost one dye layer faster than the others, which is why it reads pink or cyan overall. Correcting that cast is a different operation from removing scratches, and doing it first makes the rest of the damage much easier to see.
One pass, in the right order
Denoising after sharpening amplifies exactly what the sharpening created. Our restore a scanned print mode is tuned for scanned prints and keeps each step — denoise, sharpen, face repair, colour — as its own switch, applied in an order that does not fight itself. Print-size output is a separate step: upscale image after the restoration, not before.
Tools this guide is about
- AI Photo EnhancerFour fixes, each one you can turn off. Because a one-click enhancer that always does all four is how photos end up looking plastic.
- Upscale ImageSet the scale and the model here, then run it in the workspace and compare the result at full size. Separate models for photos and for line art, because one model cannot do both.